Roof Install Guide: 10 Essential Steps to Success
Roof Install is a term used to describe the process of placing new roof shingles on a home. This is an essential home improvement task that boosts curb appeal, improves energy efficiency, and protects your house from the elements. For homeowners eager to tackle this project themselves, following a few basic steps and safety precautions is crucial.
- Measure: Calculate your roof size accurately to determine the amount of materials needed.
- Safety First: Use harnesses, hard hats, and gloves to prevent accidents.
- Prepare: Set up tarps around the home to catch debris, and clear the work area of obstacles.
- Install in Steps: Begin by laying down roofing underlayment, followed by the drip edge, and then carefully place the shingles and install flashing as needed.
The allure of DIY roofing is strong for many, offering a sense of accomplishment and potential cost savings. However, safety cannot be overstated. It’s critical to ensure the right precautions are taken every step of the way, from correctly wearing safety gear to securing the roofing materials.
My name is Jack Golini, and I’ve been immersed in the roof install business since 1982. With over 35 years in the field, I bring a wealth of experience and dedication to crafting roofs that stand the test of time, ensuring quality installations that prioritize safety and precision.

Roof Install terminology:
– asphalt roof shingles cost
– average cost to tear off and replace roof
– installing roof shingles
Pre-Installation Checklist
Before diving into a Roof Install, it’s crucial to get organized and plan ahead. This means gathering the right safety gear, preparing the site, and accurately measuring your roof. Let’s break it down.
Safety Gear
Safety is non-negotiable when working on a roof. Here’s what you need:
- Harness and Hard Hat: These are your primary lines of defense against falls and head injuries.
- Work Gloves: Protect your hands from sharp tools and rough materials.
- Safety Glasses: Keep your eyes safe from debris and dust.
- Long Pants and Non-Slip Shoes: These help prevent cuts and falls.

Site Preparation
A well-prepared site makes the job smoother and safer. Here are some steps to take:
- Clear the Area: Remove patio furniture and any obstacles around the house. This prevents tripping hazards and protects your belongings from falling debris.
- Mow the Lawn: A short lawn makes it easier to spot nails and debris that fall during the project.
- Lay Down Tarps: Place tarps around the house to catch debris and protect the landscape.
- Plan Material Delivery: Decide where roofing materials will be stored. Keep them close to the house, but out of the way.
Measuring the Roof
Accurate measurements ensure you buy the right amount of roofing material. Here’s how to do it:
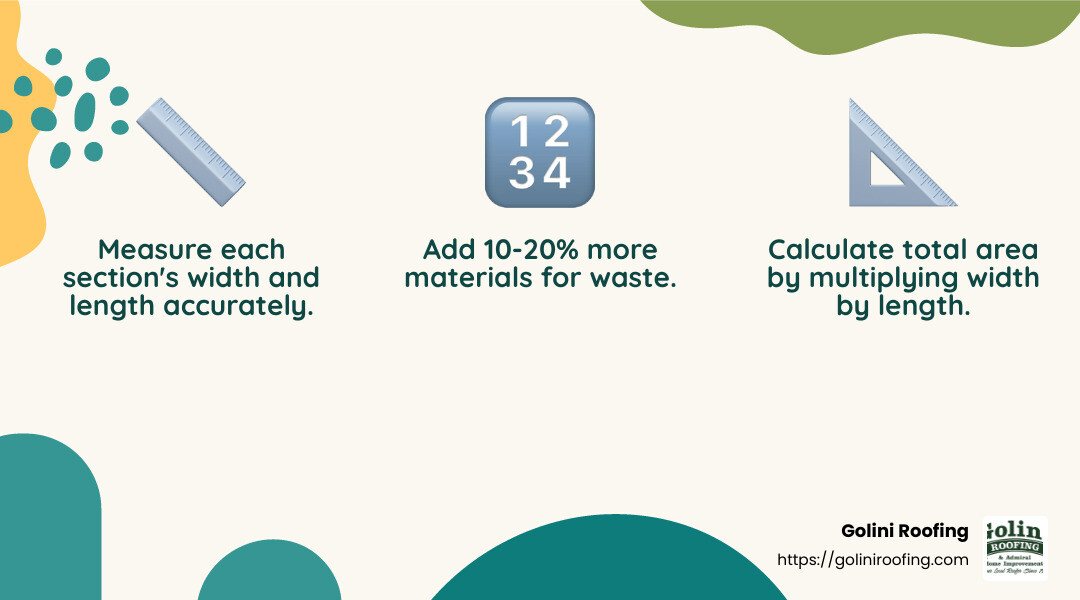
- Measure Each Section: Calculate the width and length of each roof section.
- Calculate the Area: Multiply the width by the length for each section. Add all sections together for the total area.
- Determine Squares: Divide the total area by 100 to find the number of roofing squares needed.
- Account for Waste: Add 10-20% more to cover mistakes and waste.
By following this Pre-Installation Checklist, you’ll set yourself up for a successful and safe roofing project. Next, we’ll dive into the step-by-step guide for installing your new roof shingles.
Roof Install: Step-by-Step Guide
Now that you’re all set with your Pre-Installation Checklist, it’s time to dive into the actual Roof Install process. We’ll walk you through each step, from tearing off the old roof to installing the final touches like flashing. Let’s get started!
Tear Off the Old Roof
Before you can install anything new, you must remove the old roofing materials. This is called “tearing off.”
- Start at the Top: Use a roof shovel or pry bar to remove shingles, beginning at the ridge and working your way down.
- Dispose of Debris: Rent a dumpster or use tarps to collect and dispose of old materials.
- Inspect the Deck: Once the old roof is off, check the roof deck for damage like water stains or rot. Repair any issues before moving on.
Install Underlayment
The underlayment is a crucial barrier that protects your home from moisture.
- Choose the Right Material: Felt paper is a common choice, but ice-and-water underlayment might be required in colder climates.
- Lay it Flat: Roll out the underlayment, overlapping each row by at least 2 inches. Nail it down every 12 inches to secure it.
Install Drip Edge
A drip edge is essential for directing water away from the roof and preventing damage.
- Position Correctly: Install the drip edge along the eaves first, then along the gable ends.
- Nail Securely: Use nails to fasten the drip edge, ensuring they are flush with the surface to avoid protruding through the shingles.
Install Shingles
Now for the part that everyone sees—the shingles!
- Start with Starter Shingles: Lay starter shingles along the eaves to seal gaps.
- Nail Properly: Use the correct nailing technique, placing nails within the designated nail zone.
- Overlap Rows: Each row of shingles should overlap the one below it, providing a watertight seal.
Install Flashing
Flashing is critical for preventing leaks around roof penetrations like chimneys and vents.
- Valley Flashing: Install metal flashing in roof valleys to guide water off the roof.
- Step Flashing: Use step flashing where the roof meets walls or dormers, nailing only in the top corner.
By following these steps, your Roof Install will not only look great but also stand the test of time. Next, we’ll cover the tools and materials you’ll need for the job.
Tools and Materials Needed
Before diving into a Roof Install, gather all the necessary tools and materials. This will make the process smoother and safer.
Roofing Tools
- Roofing Shovel or Pry Bar: Essential for tearing off old shingles. A roofing shovel is designed to lift shingles and nails quickly.
- Hammer or Nail Gun: Use these for nailing down shingles and underlayment. A nail gun speeds up the process but requires an air compressor.
- Utility Knife: Handy for cutting shingles to size.
- Chalk Line: Helps in marking straight lines for shingle placement.
- Tape Measure: Crucial for measuring roof dimensions and cutting materials to the correct length.
- Tin Snips: Used for cutting metal flashing.
- Ladder: Ensure it’s sturdy and tall enough to safely reach your roof.
Safety Equipment
- Harness: Always wear a safety harness to protect yourself from falls.
- Hard Hat: Protects your head from falling debris.
- Work Gloves: Keeps your hands safe from sharp tools and materials.
- Safety Glasses: Shields your eyes from dust and fragments.
- Long Pants: Provides additional protection against cuts and scrapes.
Shingles
- Asphalt Shingles: The most popular choice due to their affordability and ease of installation. They come in a variety of colors and styles to match your home.
- Starter Shingles: These are placed along the eaves to seal gaps and form a base for the rest of the shingles.
Underlayment
- Felt Paper: A traditional choice for underlayment, offering a basic layer of protection against moisture.
- Synthetic Underlayment: Offers superior durability and water resistance compared to felt. It’s lighter and easier to install.
- Ice-and-Water Shield: Recommended in colder climates to prevent ice dams.
With these tools and materials, you’re ready to tackle your Roof Install like a pro. Next, we’ll discuss common mistakes to avoid during installation.
Common Roof Installation Mistakes
Even with the right tools and materials, mistakes can happen during a Roof Install. Here are some common errors to watch out for:
Improper Nailing
Nailing might seem simple, but it’s crucial for a strong roof. Nails should be the right material and size, and placed in the correct spots. If nails are too shallow, shingles can blow off in high winds. If they’re too deep, they can damage the shingles. Look for signs like shingles sticking up or lying unevenly. These could indicate nailing issues.
Pro Tip: Always follow the manufacturer’s instructions for nail placement. If you’re unsure, consider hiring a professional to inspect the nailing work.
Missing Components
A roof is more than just shingles. Missing components can lead to leaks and damage. Key components include:
- Underlayment: This fabric-like layer provides essential moisture protection. Without it, your roof could be vulnerable to leaks. If your roof looks uneven, it might be due to improper underlayment installation.
- Flashing: This metal material seals edges and joints, like around chimneys and vents. Missing or poorly installed flashing can lead to water intrusion. Make sure flashing is installed correctly, and avoid reusing old flashing unless it’s in excellent condition.
Pro Tip: If you notice signs of missing components, have a professional roofer check your roof. Replacing or fixing these components early can save you from costly repairs later.
Flashing Issues
Flashing errors are common but preventable. Flashing should be installed around all roof protrusions to prevent leaks. Common mistakes include:
- Chimney Flashing: Often, counter flashing is missing or not embedded in mortar. This can let water seep in. Ensure your chimney has both base and counter flashing properly installed.
- Step Flashing: Used where shingles meet vertical walls, like dormers. Myths about extra nails or roofing cement can lead to mistakes. Only one nail per piece is needed, and cement should be used sparingly.
Pro Tip: Inspect flashing for rust, cracks, or improper installation. If you see issues, consult a roofer to fix them before they cause damage.
By avoiding these common mistakes, you can ensure your Roof Install is durable and long-lasting. Next, we’ll answer some frequently asked questions about roof installation.
Frequently Asked Questions about Roof Install
How much does it cost to fit a roof?
The cost of a Roof Install can vary widely depending on several factors like roof size, material choice, and location. On average, a roof replacement might cost anywhere from $7,000 for a smaller roof up to $21,000 for larger, more complex ones.
Cost per square foot also varies by material. Asphalt shingles, the most common roofing material, typically cost around $7 per square foot. Meanwhile, more durable options like metal roofing can range up to $40 per square foot. These are average costs based on internet data and not specific quotes from Golini Roofing.
How do most people pay for a new roof?
Paying for a new roof can be a significant financial commitment, but there are several options available:
- Savings: Some homeowners save up over time to cover the cost of a new roof outright. This can be the most cost-effective method since it avoids interest charges.
- Financing Options: Many roofing companies offer financing plans. These can spread the cost over several months or years. Be sure to check interest rates and terms before committing to a plan.
- Home Equity Loans: Using a home equity loan or line of credit can be a good option if you’re comfortable leveraging your home as collateral. These loans often have lower interest rates than personal loans.
Does homeowners insurance cover roof replacement?
Homeowners insurance can help cover the cost of a roof replacement, but it depends on the cause of the damage. Most policies cover damage from sudden events like storms or fires. However, they typically do not cover wear and tear or damage due to poor maintenance.
- Policy Details: It’s crucial to review your specific policy details. Some policies might exclude certain types of damage, or have high deductibles that make filing a claim less worthwhile.
- Wind Damage: For example, most policies will cover shingles blown off by a storm unless you live in an area with wind exclusions, like tornado-prone regions.
Always consult your insurance agent to understand what your policy covers and consider regular roof maintenance to improve your chances of claim approval.
By understanding these aspects, you can better prepare for the financial side of a Roof Install. Next, we’ll discuss the tools and materials needed for a successful installation.
Conclusion
At Golini Roofing, we pride ourselves on delivering exceptional Roof Install services with a steadfast commitment to quality craftsmanship and customer satisfaction. With over 35 years of experience, we understand that a well-installed roof is crucial not only for protecting your home but also for enhancing its value and aesthetic appeal.
Our unique approach involves meticulous hand-nailing of each shingle, ensuring durability and precision. This attention to detail sets us apart and guarantees a roof that can withstand harsh weather conditions, offering peace of mind for years to come.
Customer satisfaction is at the heart of our business. We work closely with our clients to ensure that every project meets their specific needs and expectations. Our team is dedicated to providing clear communication, reliable timelines, and a seamless roofing experience from start to finish.
Whether you’re considering a new roof or need repairs, Golini Roofing is here to help. Our services are available throughout Massachusetts, including areas like Burlington, Lynnfield, and Winchester. We invite you to experience the Golini Roofing difference.
For more information or to request a free consultation, please visit our Roofing Company Massachusetts page. Let us show you why we are the trusted choice for roofing solutions in your area.
Thank you for considering Golini Roofing, where quality and customer satisfaction go hand in hand.
