
How Do You Replace a Roof: 7 Proven Steps for Success
How do you replace a roof? It’s a question many homeowners face, often driven by the need for cost savings and the desire for DIY satisfaction. Replacing a roof isn’t just about changing shingles; it’s about safeguarding your home from the elements and ensuring peace of mind. Here’s a quick overview to get you started:
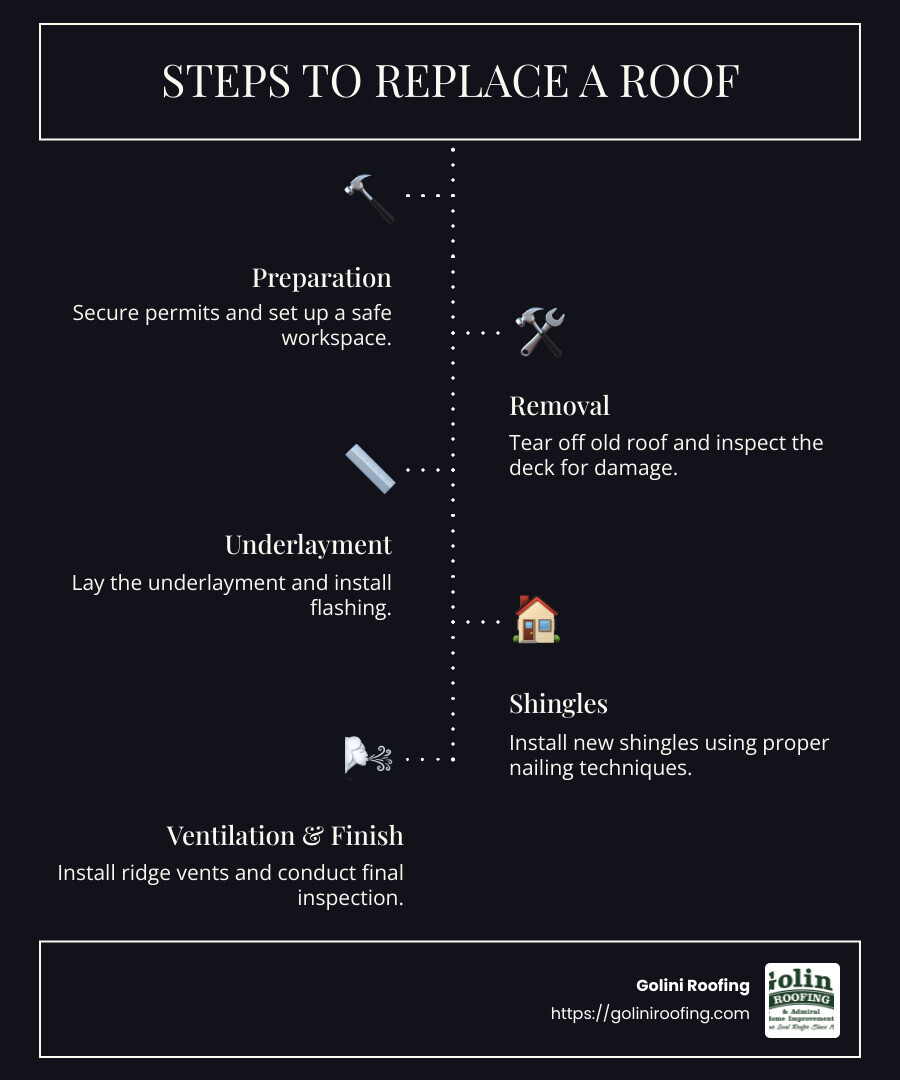
- Preparation: Secure permits and set up a safe workspace.
- Removal: Tear off the old roof and inspect the deck for damage.
- Installation: Lay the underlayment, install flashing, and place new shingles.
- Ventilation and Finish: Install ridge vents and conduct a final inspection.
Starting on a roofing project can be daunting, but with some know-how, the right materials, and dedication, it’s possible to tackle it successfully.
As Jack Golini, I have spent over 35 years in the roofing industry, mastering all aspects of how do you replace a roof, from DIY tips to professional insights. As we dive into the details, you’ll learn how each step plays a crucial role in crafting a durable and efficient roof for your home.
Glossary for how do you replace a roof:
– how much does roof replacement cost
– how long does it take to replace a roof
– replacing roof shingles
How Do You Replace a Roof?
Initial Preparation
Before diving into the physical work of replacing your roof, it’s crucial to set the stage for success with initial preparation. This involves planning, gathering the necessary tools, and ensuring safety protocols are in place.
Permits and Regulations: Depending on your location, you might need a permit to replace your roof. It’s essential to check with local authorities to avoid any legal issues. Permits ensure that your roofing project complies with building codes and safety standards.
Safety Gear: Roofing can be dangerous. Equip yourself with a sturdy safety harness, non-slip shoes, and a helmet. Always work with a partner or have someone nearby to assist in case of emergencies. Safety first!
Work Area Setup: Clear the area around your home. Remove any obstacles and protect your landscaping with tarps. A clean and organized workspace reduces accidents and makes the job more efficient.
Removing the Old Roof
The first hands-on step in how do you replace a roof is removing the old one. This process is called the “tear-off” and involves stripping away the existing shingles and underlayment to expose the roof deck.
Tear Off: Using a roofing shovel or pry bar, start at the peak and work your way down. Carefully remove the old shingles and underlayment. This step is labor-intensive but necessary to ensure a fresh start for your new roof.
Roof Deck Inspection: Once the old materials are removed, inspect the roof deck for any signs of damage or rot. Replace any compromised sections with new decking material. A solid foundation is critical for the longevity of your new roof.
Debris Disposal: Roofing projects generate a lot of debris. Rent a dumpster to make disposal easy and efficient. This not only keeps your work area tidy but also saves time and effort in the long run.
By carefully preparing and removing the old roof, you lay the groundwork for a successful installation of new roofing components. Each step, from securing permits to inspecting the roof deck, plays a vital role in ensuring your roofing project is both safe and effective.
Installing New Roofing Components
Once the old roof is removed and the deck is ready, it’s time to install the new components. This step is crucial for ensuring your roof’s durability and weather resistance.
Laying the Underlayment
The underlayment acts as a protective barrier between your roof deck and the shingles. It prevents moisture from seeping into the deck, which can cause damage over time.
Felt Paper vs. Synthetic Options: Traditionally, felt paper has been used for underlayment. It’s affordable and easy to install. However, synthetic options are gaining popularity due to their improved durability and resistance to tearing. While felt paper might be suitable for a budget-friendly project, synthetic underlayment offers long-term benefits and is ideal for harsher climates.
Installation Tips: Start at the eaves and work your way up to the ridge. Overlap each layer by at least two inches to ensure water can’t penetrate. Secure the underlayment with staples or roofing nails, but avoid using too few fasteners, as this can lead to tears and instability.
Installing Shingles
With the underlayment in place, it’s time to lay the shingles. Asphalt shingles are the most common choice due to their affordability and ease of installation.
Starter Strip: Begin with a starter strip along the edge of the roof. This strip provides a secure base for the first row of shingles and helps prevent wind uplift.
Nailing Techniques: Proper nailing is crucial. Use the manufacturer’s instructions as a guide for the number of nails per shingle. Typically, four to six nails are recommended for each shingle, depending on wind exposure in your area. Ensure the nails are driven straight and flush with the shingle surface to prevent water infiltration.
Overlapping and Staggering: Lay each row of shingles so that it overlaps the one below. Stagger the seams to avoid direct water paths, which can lead to leaks. A chalk line can be helpful to keep rows straight and evenly spaced.
Drip Edge and Flashing:
- Drip Edge: Install metal drip edges along the eaves and gable ends. This component directs water away from the fascia and prevents it from getting under the shingles. It’s a small step that plays a big role in protecting your roof’s edges from rot.
- Flashing: Place flashing around chimneys, vents, and valleys. This metal barrier directs water away from these vulnerable areas, reducing the risk of leaks. Secure flashing with roofing cement and nails for a tight seal.
By carefully installing the underlayment and shingles, you’re setting the stage for a roof that can withstand the elements and protect your home for years to come. Each component, from the starter strip to the flashing, plays a vital role in the overall effectiveness of your new roof.
Ventilation and Finishing Touches
Proper ventilation and finishing touches are the final steps in ensuring your roof performs well and lasts for years. Let’s explore how you can achieve this.
Installing Ventilation Components
Ridge Vent and Soffit Vents
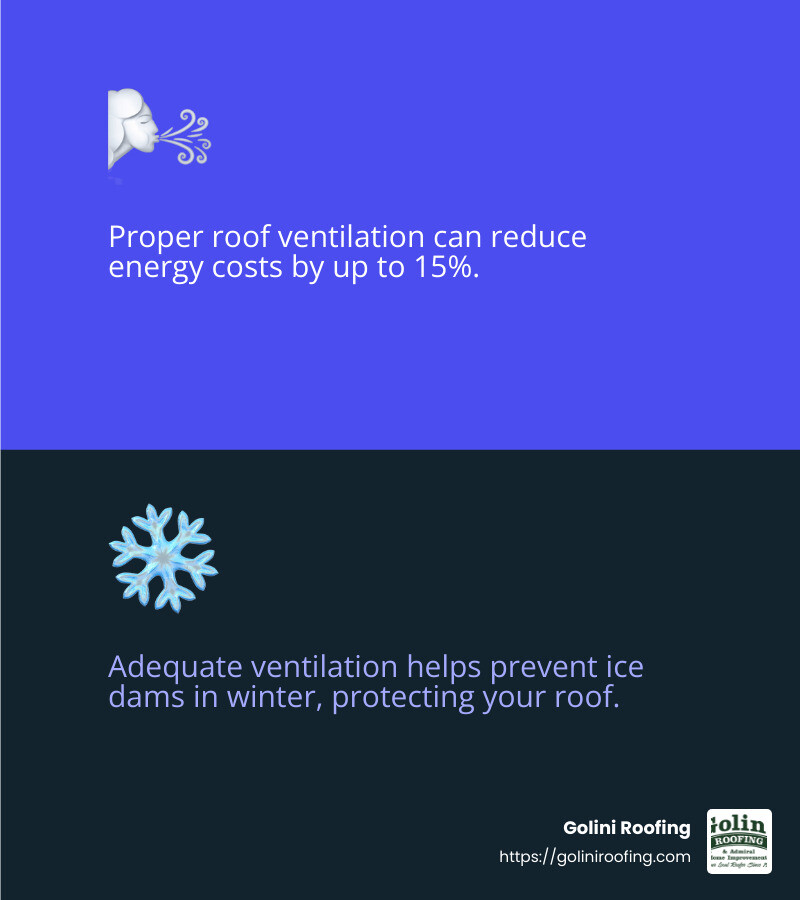
Ventilation is crucial for a healthy roof. It helps regulate temperature and moisture levels in your attic, which can prevent problems like mold growth and ice dams.
- Ridge Vent: This is installed along the peak of the roof. It allows warm, moist air to escape from the attic, promoting airflow. To install, cut a slot along the ridge, position the vent, and secure it with nails. Make sure the vent is covered with ridge cap shingles for a seamless look.
- Soffit Vents: These are located under the eaves. They draw in cool, fresh air from outside, which then flows up through the attic and out the ridge vent. Installing soffit vents involves cutting openings in the soffit and attaching the vent covers securely.
Energy Efficiency
Good ventilation improves energy efficiency by keeping your home cooler in the summer and reducing the load on your HVAC system. This can lead to significant savings on your energy bills.
Final Inspection and Clean-Up
After installing the ventilation components, it’s time for a thorough inspection and clean-up.
Loose Shingles
Walk the roof carefully to check for any loose shingles or nails that may need securing. This is your chance to make sure everything is snug and sealed, preventing future leaks.
Debris Removal
Clean the work area by removing all debris, including old shingles and nails. Use a rolling magnet to pick up stray nails from the yard. This ensures safety and leaves your property looking tidy.
By focusing on ventilation and finishing touches, you not only improve the performance of your roof but also ensure it looks great and functions efficiently. Next, we will address some frequently asked questions about roof replacement.
Frequently Asked Questions about Roof Replacement
How much does it cost to replace a roof?
Replacing a roof can be a significant investment, and costs can vary widely. The average cost to replace a roof ranges from $6,000 to $13,000 for three-tab asphalt shingles on a small home. However, prices can soar up to $50,000 or more for high-end materials like natural slate or clay tiles.
Factors affecting cost include:
- Roof Size: Larger roofs require more materials and labor, increasing the overall cost. A 1,000 sq. ft. roof might cost around $7,000, while a 3,000 sq. ft. roof could reach up to $21,000.
- Material Choice: Asphalt shingles are generally more affordable, costing around $7 per square foot. Metal roofs, while more durable, can cost up to $40 per square foot.
- Labor Rates: Labor can account for up to 60% of your total cost. This varies by region; for instance, labor charges in California may be higher than in Texas.
These are average costs based on internet data and not actual costs for Golini Roofing.
What are the best materials for a new roof?
Choosing the right material depends on your budget, aesthetic preference, and climate. Here are some popular options:
- Asphalt Shingles: These are the most common roofing material due to their affordability and ease of installation. They typically last 20-30 years.
- Metal Roofing: Known for durability and longevity, metal roofs can last 40-70 years. They are also energy-efficient, reflecting solar heat to reduce cooling costs.
- Wood Shingles: These offer a natural look and are often used in historic or rustic homes. However, they require more maintenance and are not as fire-resistant as other materials.
Do I need a permit to replace my roof myself?
Permit requirements vary by location, so it’s crucial to check with your local building department before starting a roof replacement project. Generally, a permit is needed for significant structural changes, including roof replacements.
Legal considerations include ensuring compliance with local building codes and regulations. Not obtaining the necessary permits can result in fines and complications when selling your home. Always verify the requirements for your specific area to avoid any legal issues.
By understanding these aspects of roof replacement, you can make informed decisions about your roofing project. Next, let’s wrap up with some concluding thoughts on how Golini Roofing ensures quality craftsmanship and customer satisfaction.
Conclusion
At Golini Roofing, we believe that every roof should stand as a testament to quality craftsmanship and dedication to customer satisfaction. With over 35 years of experience, our team takes pride in providing top-notch roofing services that not only protect your home but also improve its overall appearance.
Craftsmanship You Can Trust
Our commitment to meticulous hand-nailing each shingle sets us apart. This technique ensures that every roof we install is durable and built to withstand the test of time. We understand that a roof is more than just a layer of protection; it’s an investment in your home’s future. That’s why we prioritize precision and attention to detail in every project.
Customer Satisfaction is Our Priority
At Golini Roofing, we place our customers at the heart of everything we do. From the initial consultation to the final inspection, our goal is to ensure a seamless and stress-free experience. We listen to your needs and provide custom solutions that fit your budget and style preferences. Our dedication to customer satisfaction is reflected in the positive feedback and referrals we receive from our valued clients.
Whether you’re considering a roof replacement or need expert advice on the best materials for your new roof, our team is here to help. We serve various areas in Massachusetts, including Burlington, Lynnfield, North Reading, and more. If you’re ready to take the next step towards a durable and aesthetically pleasing roof, contact Golini Roofing today. Let us show you why we are synonymous with excellence and quality in the roofing industry.
Choose Golini Roofing for your next roofing project, and experience the peace of mind that comes with knowing your home is in expert hands.
