
Installing Roof Shingles: Top Tips for Perfect Results
Installing roof shingles can significantly transform your home. Whether you’re looking to improve your property’s energy efficiency, boost curb appeal, or ensure a robust defense against weather conditions, understanding this process is crucial. Here’s a quick guide:
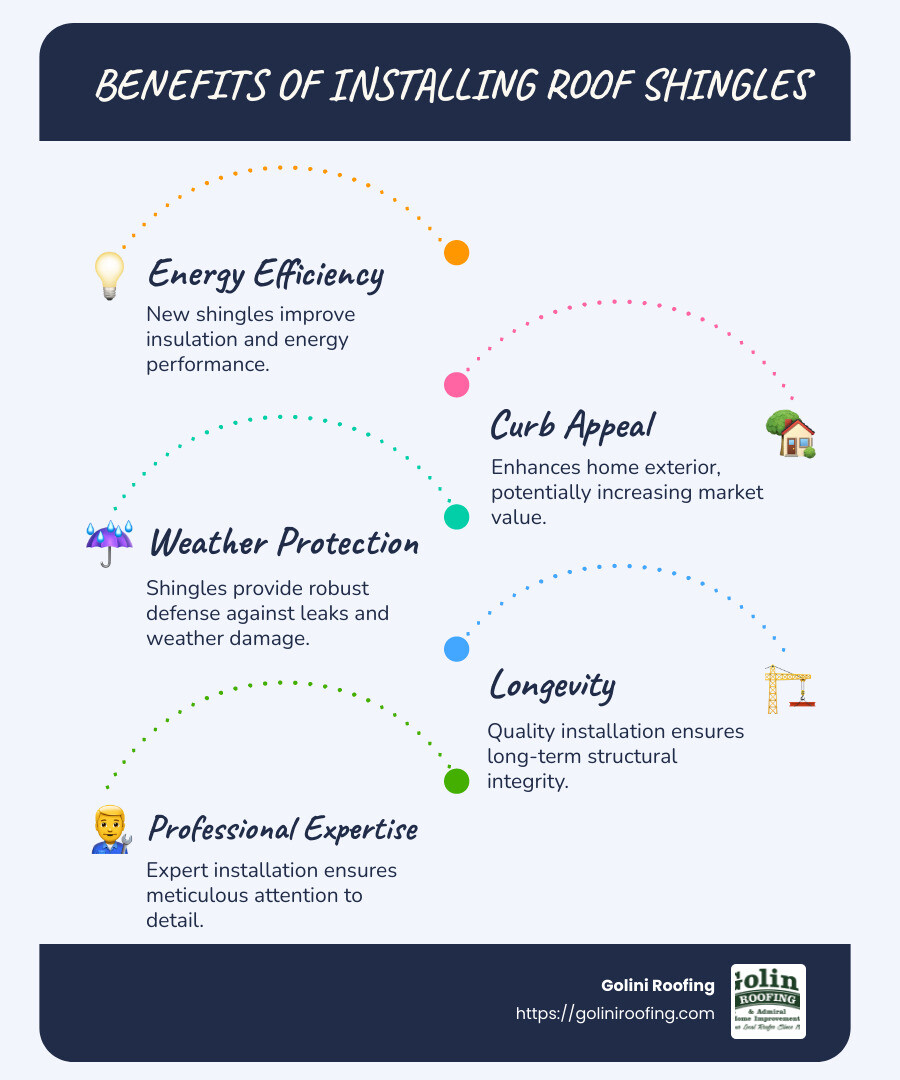
- Energy Efficiency: Updating your roof with new shingles can increase your home’s energy performance by providing better insulation.
- Curb Appeal: A new shingle roof revitalizes your home’s exterior, potentially raising market value and making a strong first impression.
- Protection: Proper shingle installation safeguards your home from leaks and weather damage, ensuring long-term structural integrity.
My name is Jack Golini, and with over 35 years in the roofing industry, I bring extensive expertise in installing roof shingles. My experience underscores the importance of quality craftsmanship and meticulous attention to detail—qualities that ensure every roof stands the test of time.
Common installing roof shingles vocab:
– asphalt roof shingles cost
– average cost to tear off and replace roof
– how much is a new roof
Pre-Installation Preparation
Before jumping into the actual process of installing roof shingles, lay a solid foundation with thorough pre-installation preparation. This stage is all about ensuring safety, accuracy, and efficiency.
Safety Gear
Safety should be your top priority. Roofing work involves heights, heavy materials, and sometimes unpredictable weather. Equip yourself with essential safety gear:
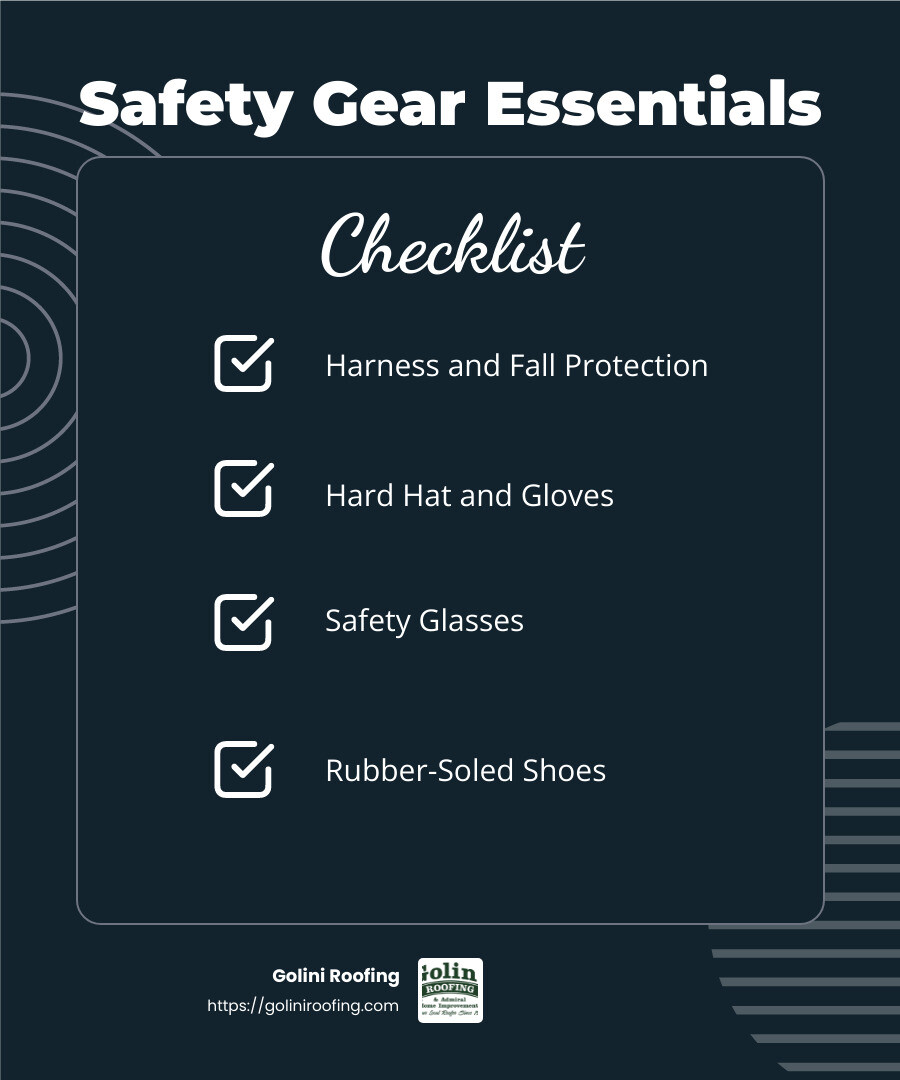
- Harness and Fall Protection: Always use a harness when working on the roof. This is non-negotiable, especially on steep pitches.
- Hard Hat and Gloves: Protect your head from falling debris and your hands from sharp objects.
- Safety Glasses: Shield your eyes from dust and flying particles.
- Rubber-Soled Shoes: These provide better grip on the roof surface, reducing the risk of slips.
Measuring the Roof
Accurate measurement is key to determining how many shingles you’ll need. Follow these steps:
- Measure Width and Length: Start by measuring the width and length of each roof section.
- Calculate Area: Multiply the width by the length for each section. Add these areas together.
- Determine Squares: Divide the total area by 100 to find out how many “squares” you need. One square equals 100 square feet.
- Account for Overage: Add 10-20% extra for overage and waste to ensure you have enough materials.
This careful planning helps you avoid unnecessary trips to the store and keeps the project on track.
Debris Removal
A clean workspace is a safe workspace. Before starting, prepare the area around your home:
- Clear the Yard: Mow the lawn and move patio furniture away from the house. This makes it easier to spot and collect fallen debris.
- Cover Shrubs and Plants: Use tarps to protect landscaping from falling shingles and nails.
- Lay Tarps on the Ground: These catch debris, making cleanup quicker and preventing damage to your lawn or driveway.
Proper debris management not only helps in maintaining a tidy work environment but also minimizes the risk of accidents and damage to your property.
By taking these steps, you’re setting the stage for a smooth and efficient shingle installation process. Next, we’ll dive into the actual installation, starting with deck protection and starter shingles.
Installing Roof Shingles
Now that you’ve laid the groundwork, it’s time to dive into the actual process of installing roof shingles. This involves several key steps, including deck protection and starter shingles, to ensure a durable and weather-resistant roof.
Deck Protection
Before you begin laying shingles, it’s crucial to protect the roof deck. This step is all about creating a barrier between your home and the elements:
- Underlayment: Roll out a waterproof or water-resistant layer over the entire roof deck. This underlayment acts as a shield against moisture and helps prevent leaks.
- Overlap Each Row: When installing the underlayment, make sure to overlap each row by at least 3 to 4 inches. This ensures complete coverage and minimizes the risk of water seeping through.
- Secure with Cap Nails: Use cap nails to hold the underlayment in place. This provides extra security, especially in areas prone to high winds or severe weather.
The goal here is to create a seamless protective layer that keeps your home dry and safe.
Starter Shingles
Once the deck protection is in place, it’s time to lay the foundation for your shingles with starter shingles. These are essential for a secure and neat shingle installation:
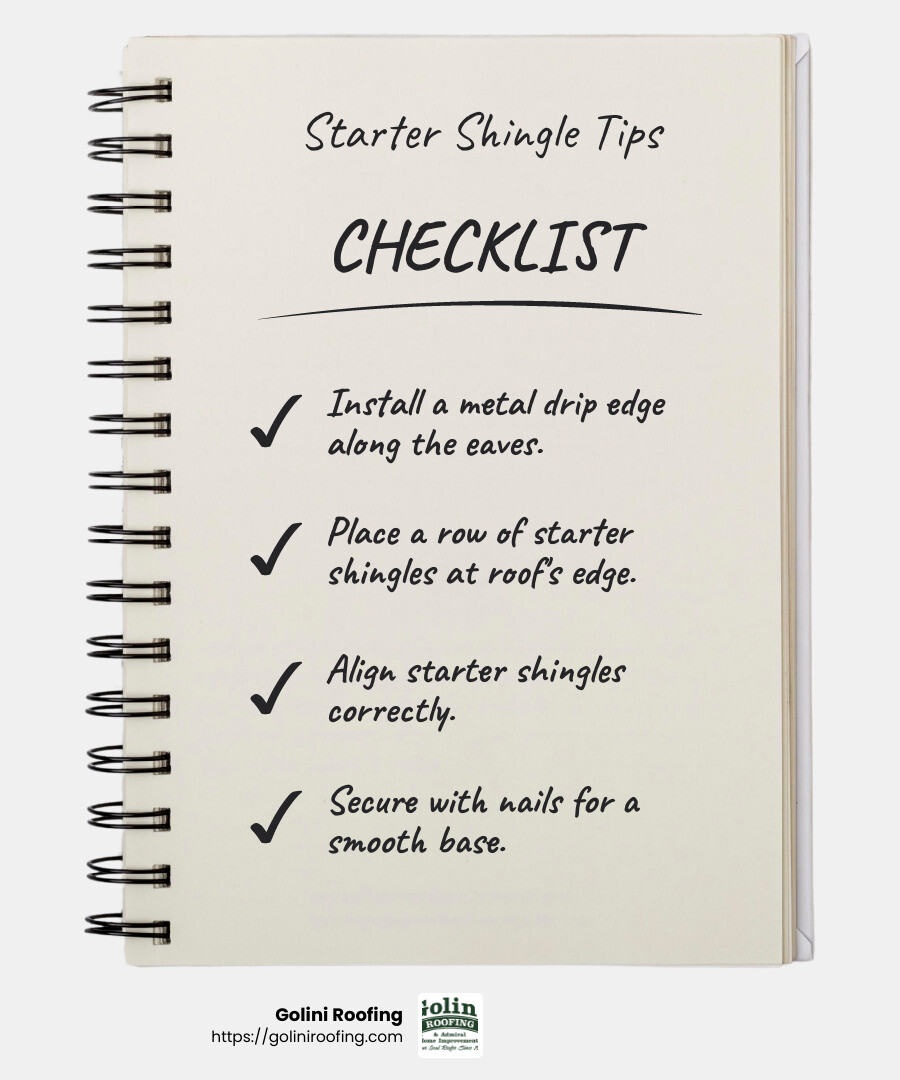
- Install Drip Edge: Begin by nailing a metal drip edge along the eaves. This helps direct water away from the fascia and prevents water damage.
- Lay Starter Shingles: Place a row of starter shingles along the edge of the roof. These shingles are designed to provide an additional layer of protection and offer a clean edge for your first course of shingles.
- Align Properly: Make sure the starter shingles are aligned correctly and securely fastened. This sets the stage for the rest of the shingles to be installed smoothly.
By taking these steps, you’re ensuring a solid start to your shingle installation. The deck protection and starter shingles are the unsung heroes of a well-installed roof, providing necessary protection and a strong foundation for the layers to come.
Next, let’s explore the step-by-step process of laying your shingles, starting from the bottom and working your way up to the top.
Step-by-Step Shingle Installation
Now that you’ve got your deck protection and starter shingles in place, it’s time to tackle the main event: installing roof shingles. This process requires precision and attention to detail, starting from the bottom and working your way up.
Bottom-Up Approach
When installing roof shingles, always start at the bottom of the roof and work your way up. This method ensures that each layer of shingles overlaps the one below it, creating a watertight barrier.
- Begin at the Eaves: Lay your first row of shingles along the eaves, ensuring they align with the starter shingles. Secure each shingle with four nails, placing them about 2 inches from each end and 1 inch above each cutout.
- Stagger the Courses: For the second row, cut 6 inches off the first shingle. This staggered pattern helps prevent water infiltration and adds strength to the roof. Continue this pattern, cutting 12 inches off the first shingle of the third row, and so on.
Drip Edge
The drip edge is a crucial component in preventing water damage. It directs water away from the roof and into the gutters.
- Install at the Edges: Nail the metal drip edge along the eaves and rakes. This not only gives your roof a clean, finished look but also protects the edges from water damage.
- Under and Over: At the eaves, the drip edge goes under the ice and water shield and underlayment. At the rakes, it sits on top of the underlayment. This placement ensures optimal water diversion.
Ice Dam Protection
In colder climates, ice dams can form, causing water to back up under the shingles. Proper installation can help prevent this.
- Ice and Water Shield: Install an ice and water protector over the drip edge at the eaves. This self-adhering membrane adheres tightly to the roof deck, sealing around nails to prevent leaks.
- Extend Coverage: Make sure the ice and water shield extends at least 24 inches inside the exterior wall line of the house. This provides extra protection against ice dams.
By following these steps, you’re setting your roof up for success. The bottom-up approach, combined with a well-installed drip edge and ice dam protection, ensures your roof is both durable and efficient.
Next, we’ll dig into advanced techniques for shingle installation, including underlayment and flashing, to further improve your roof’s performance.
Advanced Techniques for Shingle Installation
Once the basics are in place, it’s time to explore some advanced techniques that will make your roof even more durable and effective. These include underlayment, flashing, and hip and ridge caps.
Underlayment
Underlayment is a protective layer that goes between your roof deck and the shingles. It acts as a moisture barrier, preventing leaks and protecting the roof deck from water damage.
- Types of Underlayment: There are two main types: asphalt-saturated felt and synthetic underlayment. Asphalt-saturated felt is more traditional, while synthetic options offer improved durability and moisture resistance.
- Installation Tips: Start at the lowest part of the roof and work your way up, overlapping each sheet by at least 3 inches. This ensures water flows down the roof without seeping through the seams. Use plenty of staples to secure the underlayment, especially if your roof may be exposed to wind before the shingles are applied.
Flashing
Flashing is essential for sealing joints and preventing leaks around roof features like chimneys, vents, and valleys.
- Chimneys and Vents: Install step flashing around chimneys and vent pipes. This involves layering metal pieces with each row of shingles to create a watertight seal.
- Valleys: In roof valleys, use a wide metal flashing to direct water flow. This prevents water from pooling in these low points, which can lead to leaks.
Hip and Ridge Caps
These are the finishing touches for your roof, covering the seams where roof planes meet.
- Ridge Caps: Install ridge cap shingles along the peak of the roof. Start at the end opposite the prevailing wind to improve wind resistance. Use longer nails to ensure they penetrate both the ridge cap and the last course of shingles.
- Hip Caps: On hip roofs, start at the bottom and work your way up. This ensures each cap overlaps the one below it, shedding water efficiently.
By incorporating these advanced techniques, your roof will be better equipped to withstand the elements. Underlayment, flashing, and hip and ridge caps each play a crucial role in protecting your home from water damage and extending the life of your roof.
Up next, we’ll address some frequently asked questions about installing roof shingles, including the proper overhang and whether to use nails or staples.
Frequently Asked Questions about Installing Roof Shingles
How should shingles be installed on a roof?
Safety First: Before starting, make sure you have the right safety gear. This includes a harness, hard hat, and gloves. It’s crucial to stay safe while working at heights.
Deck Preparation: A smooth and clean deck is essential. Remove any debris and ensure the deck is dry and well-secured. This creates a solid base for your shingles.
Bottom-Up Approach: Start from the bottom of the roof and work your way up. This helps in overlapping shingles correctly, allowing water to flow down without seeping through.
What is the proper overhang for roof shingles?
Drip Edge: Install a metal drip edge along the eaves. This prevents water from getting under the shingles and protects the roof deck.
Overhang Measurement: Shingles should hang over the drip edge by about 1/4 to 3/4 inches. This slight overhang helps water drip off the roof rather than run down the fascia.
Should roof shingles be nailed or stapled?
Nailing Technique: Use nails, not staples, for attaching shingles. Nails provide better holding power and are more resistant to wind.
- Nail Placement: Place nails about an inch above the cutout and about 1/2 inch from each edge. Use four nails per shingle, but on wind-prone sides, use six for extra security.
Wind-Resistance: Proper nailing is key to wind resistance. Make sure each nail penetrates through the shingle and into the deck below to hold the shingles firmly in place.
By following these guidelines, you’ll ensure a sturdy and long-lasting roof. Next, we’ll explore how Golini Roofing’s craftsmanship and dedication to customer satisfaction make them a top choice for your roofing needs.
Conclusion
At Golini Roofing, our commitment to craftsmanship and customer satisfaction sets us apart. With over 35 years of experience, we understand that a roof is not just about protection—it’s about enhancing your home’s value and aesthetic appeal. Our meticulous hand-nailing technique ensures each shingle is securely placed, providing durability and peace of mind.
Craftsmanship You Can Trust
We take pride in our attention to detail. Every shingle is hand-nailed, which not only improves the roof’s longevity but also its resistance to harsh weather. This method, combined with our use of high-quality materials, ensures your roof stands the test of time.
Customer Satisfaction
Your satisfaction is our top priority. We tailor our services to meet your specific needs, whether it’s for a residential home or a commercial building. Our team is dedicated to providing a seamless experience from start to finish, ensuring you’re informed and comfortable at every step.
Why Choose Golini Roofing?
- Experienced Professionals: Our team has decades of experience in roofing, ensuring quality and reliability.
- Local Expertise: We serve various areas in Massachusetts, including Burlington, Lynnfield, and Wakefield.
- Comprehensive Services: From roof replacements to leak detection, we offer a range of services to keep your roof in top condition.
For more information on how we can assist with your roofing needs, visit our roofing company service page.
Choose Golini Roofing for superior craftsmanship and customer-focused service. We’re here to ensure your roof is as strong and beautiful as it can be.
