
Roofing steps installation: The Ultimate 2025 Guide
Why Understanding Proper Roofing Steps Installation Matters
A proper roofing steps installation is a precise sequence that determines if your new roof will last for decades or fail prematurely. As a significant home investment, a new roof can cost anywhere from $5,500 to $46,000.
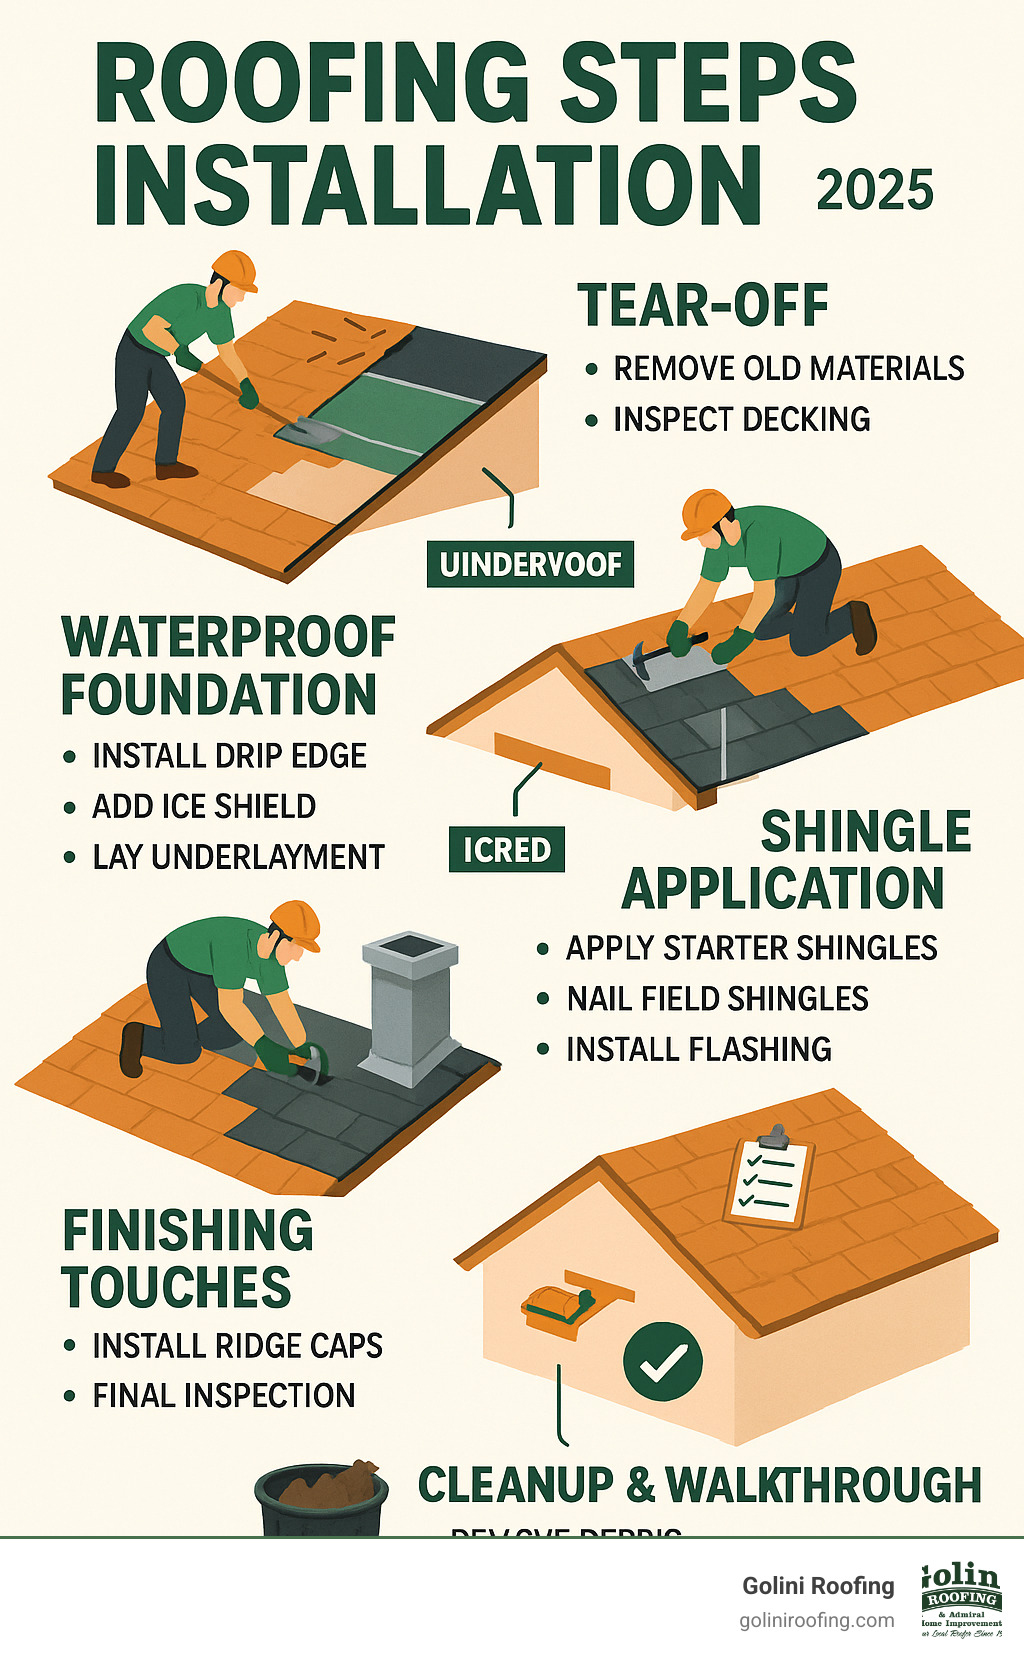
The essential process includes:
- Tear-off and deck inspection – Removing old materials and checking structural integrity
- Waterproof foundation – Installing drip edge, ice shield, and underlayment
- Shingle application – Applying starter shingles, field shingles, and flashing
- Finishing touches – Installing ridge caps and completing a final inspection
- Cleanup and walkthrough – Removing debris and inspecting the completed work
A correctly installed roof protects your home from New England weather and maintains its structural integrity. Conversely, poor installation leads to leaks, premature failure, and costly repairs.
The choice between DIY and professional installation hinges on roof complexity, comfort with heights, and building codes. Simple roofs may be suitable for experienced DIYers, but complex designs require professional expertise for proper waterproofing and wind resistance.
I’m Jack Golini, and since 1982, I’ve guided homeowners through successful roofing steps installation projects. My 35+ years of experience confirms that following the correct sequence is critical for long-term performance.
Planning and Preparation: Before You Begin
Successful roofing steps installation projects begin with thorough planning. Proper preparation can be the difference between a smooth project and a week-long headache.

Recognizing when your roof needs replacement is the first step. Key signs include missing or cracked shingles, dark streaks, moss growth, or an abundance of shingle granules in your gutters. Age is also a primary factor; a typical asphalt roof lasts about 25 years. Leaks or premature failure due to poor installation also signal it’s time for a replacement.
Estimating materials accurately prevents mid-project delays and waste. To do this, measure your roof’s total square footage and divide by 100 to find the number of “squares.” For standard shingles, you’ll need about three bundles per square. Always add 10-15% extra for waste, or up to 20% for complex roofs with many angles.
Project timelines for an average roofing steps installation take about two days, but weather or roof complexity can extend this to a week or more. The financial investment is significant, with the national average cost to replace a roof around $8,000, and most projects falling between $5,500 and $11,000. Labor typically accounts for 60% of the cost, with materials making up the other 40%, highlighting the importance of skilled craftsmanship. A quality roof replacement can return about 60% of its cost at resale. Learn more at our Roof Replacement Services page.
Essential Safety Precautions
Safety is paramount during any roofing steps installation. Fall protection equipment, including a harness, rope, and hook, is non-negotiable. Ladders must be sturdy, extend three feet above the roofline, and be tied off securely.
Proper footing is critical; we use rubber-soled shoes and only work on dry surfaces, generally on pitches of 6/12 or less. Ideal weather is between 50-80°F, as extreme temperatures and wind can compromise materials and safety.
Debris management involves using tarps to protect landscaping and hard hats for the ground crew. We also believe in neighbor communication as a professional courtesy. We ask homeowners to prepare by clearing the area around the house and flagging sensitive landscaping.
Tools and Materials Checklist
The right tools and materials are essential for a professional roofing steps installation.
Key tools include a roofing shovel, hammer, utility knife, chalk line, tape measure, caulk gun, and a full safety kit. A pneumatic nailer, circular saw, tin snips, and magnetic sweeper are also vital.
Material selection begins with asphalt shingles, available in 3-tab, architectural (most popular), and luxury styles. Underlayment, especially modern synthetic types, provides a crucial secondary water barrier. Drip edge is installed along eaves and rakes to direct water away from fascia. Ice and water shield, a self-adhesive membrane, is critical for waterproofing eaves, valleys, and penetrations. Flashing creates watertight seals around chimneys and vents, while ridge cap shingles finish the peaks. We use high-quality, hot-dipped galvanized roofing nails for maximum longevity.
The Complete Roofing Steps Installation Process
With preparation complete, we can begin the core roofing steps installation work, changing your old roof into a protective barrier through a process we’ve perfected over 35+ years.
Step 1: Tear-Off and Deck Inspection
The first step is removing the old roof to reveal the decking. We systematically strip old shingles and underlayment from the ridge down to the eaves, protecting your property from debris. All old nails are then removed or hammered flat to create a smooth surface.
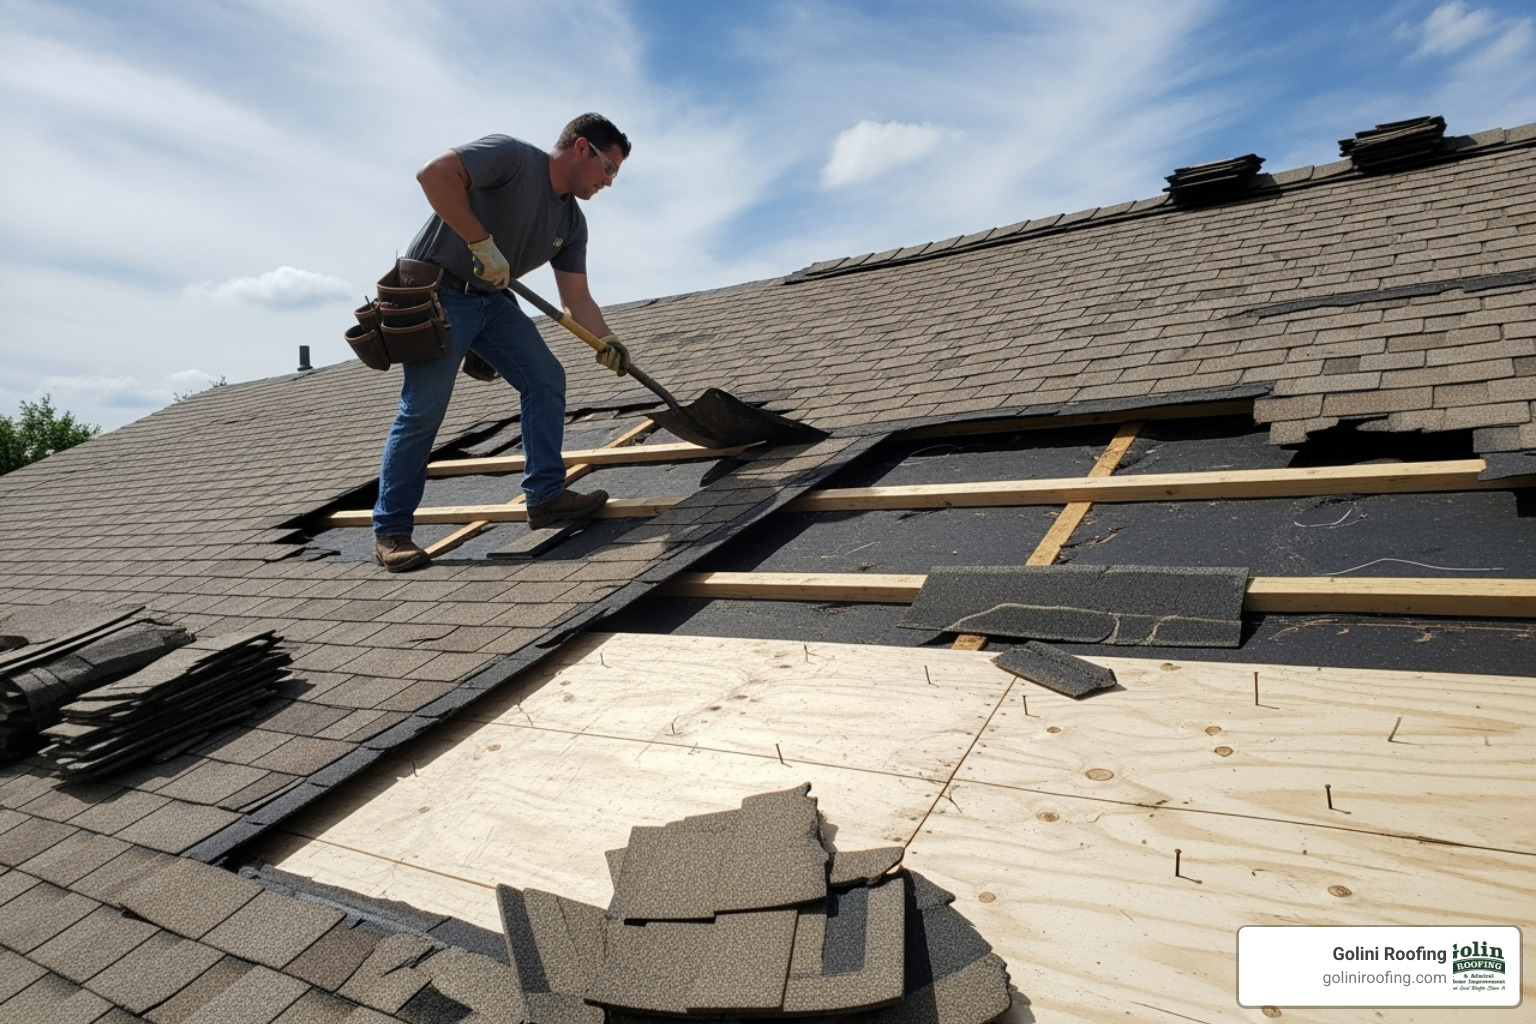
With the deck exposed, we perform the most critical part of this stage: inspecting the roof decking. We check every square inch for rot, water damage, or weak spots. Any compromised sheathing is replaced with new plywood or OSB to ensure structural integrity.
Finally, we sweep the deck completely clean so the new materials lie flat. This full tear-off is essential for addressing hidden issues that could compromise your new roof. You can learn more about this crucial first phase on our Roof Tear Off Cost page.
Step 2: Building the Waterproof Foundation
With a clean deck, we build the waterproof foundation. This is the most important phase of roofing steps installation for long-term water protection.
We begin by installing drip edge along the eaves and rakes. The installation order is critical: at the eaves, drip edge goes under the ice and water shield; on the rakes, it goes over the underlayment to ensure proper water shedding.
Next, we apply ice and water shield, a self-adhesive membrane essential for protecting against ice dams in Massachusetts. It is applied to eaves, valleys, and around penetrations, where it seals around nail shanks to create a watertight barrier.
The rest of the deck is covered with underlayment. We prefer modern synthetic underlayment over traditional felt paper as it is lighter, stronger, and safer to work on. Each row is overlapped by several inches and secured flat, creating a smooth surface for the shingles. To see the quality materials we use in this process, visit our Residential Roofing Shingles page.
Step 3: Shingle Application and Flashing
Applying shingles and flashing is the most skill-intensive part of the roofing steps installation process, and it’s where professional craftsmanship truly shows.
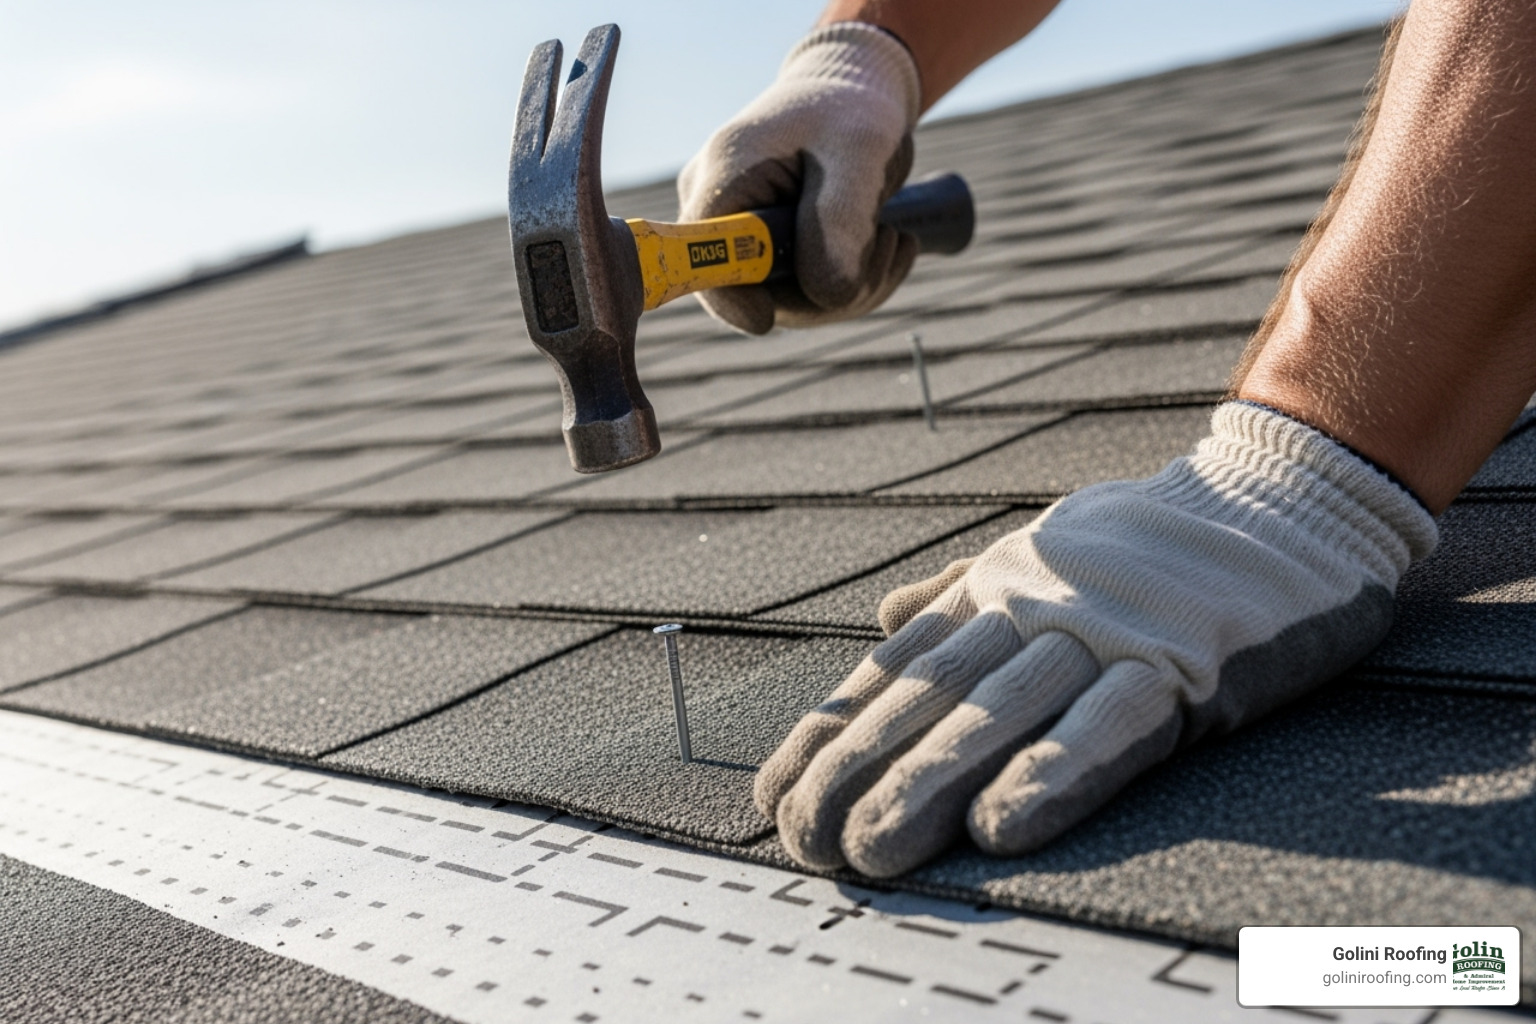
We begin with starter shingles, which are installed along the eaves and rakes. Their adhesive strip bonds to the first course of field shingles, providing critical wind resistance from the start.
Next is flashing, which prevents leaks where the roof is interrupted. Poor flashing is a leading cause of roof failure.
- Chimney flashing involves a multi-layered system of base, step, and counter flashing to direct water away.
- Vent pipe flashing uses pipe collars or boots to create a snug, watertight seal.
- Step flashing consists of interwoven L-shaped metal pieces where the roof meets a vertical wall, like a dormer.
- Valley flashing is critical where two roof planes meet. We prefer an open valley with a metal liner to ensure water and debris flow freely.
This comprehensive approach is a cornerstone of our Asphalt Shingle Roof Replacement service, ensuring your roof stays leak-free.
The Correct Procedure for Your Roofing Steps Installation
With the foundation set, we lay the field shingles. The first course must be perfectly aligned over the starter strip.
Staggering shingle seams is essential; we offset each course so vertical joints don’t line up, preventing water infiltration. Our nailing pattern ensures maximum wind resistance, typically using five nails per shingle (or six in high-wind zones).
Golini Roofing’s unique advantage is our meticulous hand-nailing technique. Unlike pneumatic nail guns, hand-nailing allows our craftsmen to feel the deck and drive each nail perfectly flush, preventing under-driven nails that lift or over-driven nails that cut the shingle. This process significantly improves a roof’s longevity and performance.
We use chalk lines to maintain straight, even courses for a professional appearance. Shingles are carefully cut to fit snugly around all edges and penetrations.
Step 4: Finishing Touches and Final Inspection
The final steps in our roofing steps installation process complete the protective system and ensure your property is left in pristine condition.
Installing Ridge Caps and Finalizing Your Roofing Steps Installation
Ridge cap shingles are installed over the roof’s peak (the ridge) and any hips, providing a finished look and critical waterproofing.
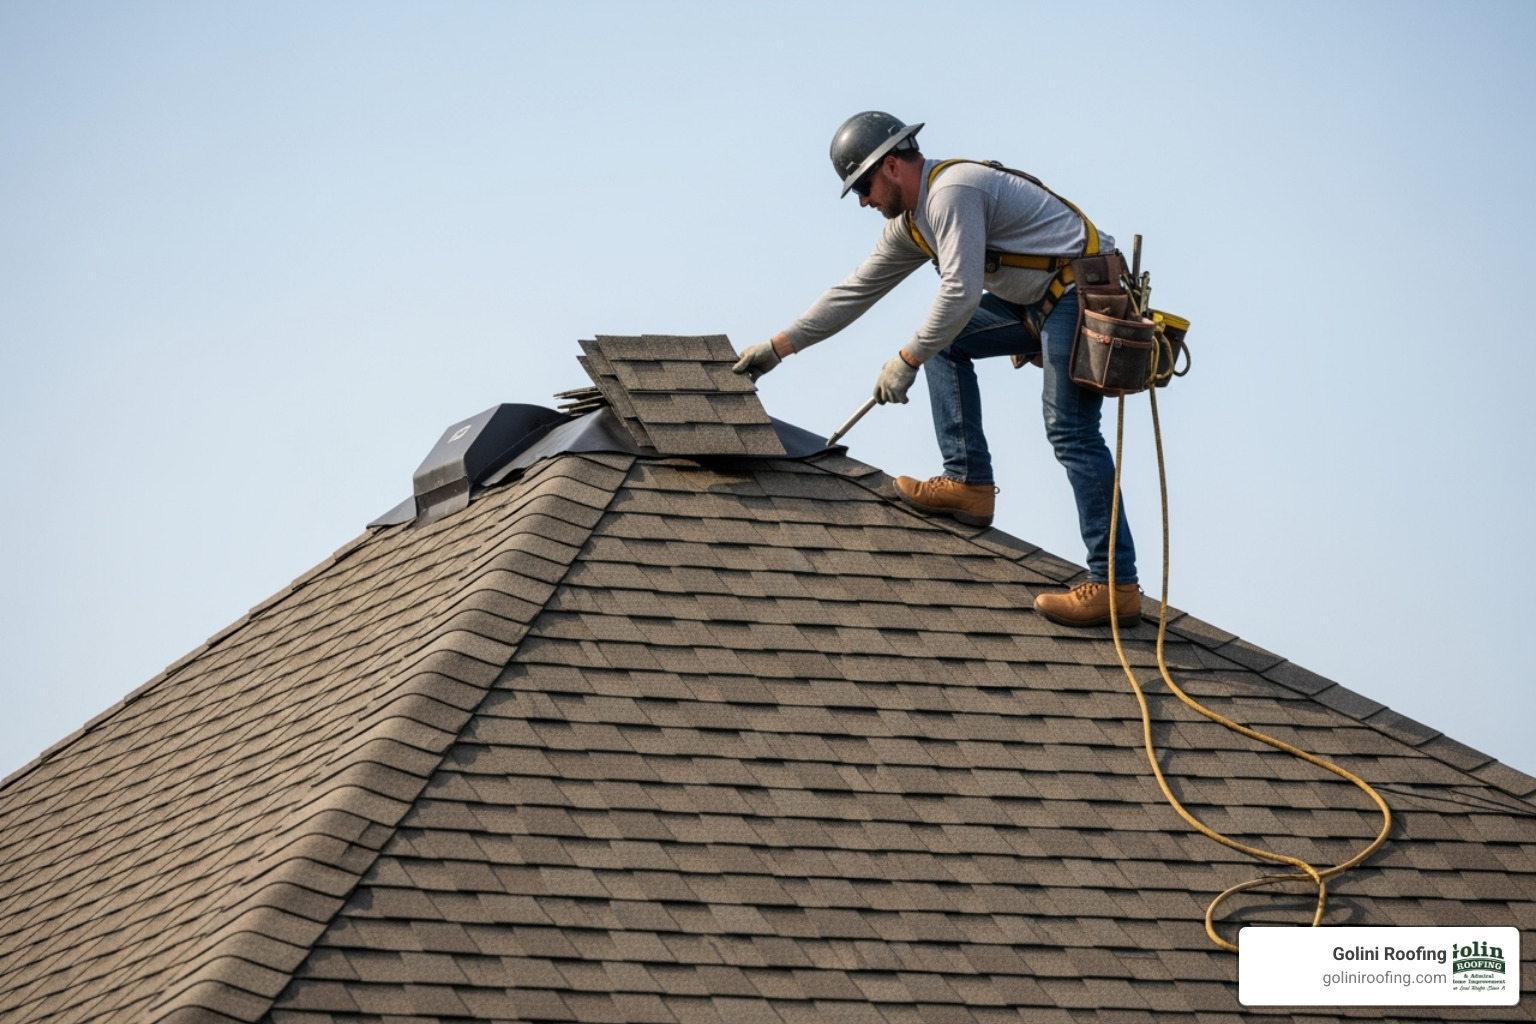
We bend each shingle over the ridge, starting at the end opposite the prevailing wind for maximum resistance. These shingles require longer nails to penetrate the multiple layers beneath. Any exposed nail heads on the final cap or around vents are sealed with a high-quality sealant to ensure a watertight finish.
Final Cleanup and Inspection
Our comprehensive cleanup ensures your property is left spotless. We clean the roof surface, clear your gutters of any installation debris, and use a magnetic sweeper on the ground to collect stray nails. All old materials are disposed of properly.
The process concludes with a final walkthrough. We conduct a thorough inspection of the finished work, checking every detail from fastener placement to flashing seals and ridge cap alignment. This ensures your new roof meets our high standards, which have defined Golini Roofing since 1982. Any issues are corrected immediately. For ongoing maintenance, our Roof Repair and Installation services are always available.
Frequently Asked Questions about Roof Installation
Here are answers to some of the most common questions homeowners ask about roof installation. These insights can help you avoid costly mistakes.
Can I install a new roof over an old layer of shingles?
While technically possible, installing new shingles over an old layer is not recommended. The main reasons to avoid this are: excess weight that can stress your home’s structure, the inability to inspect for and repair hidden deck damage like rot, potential building code violations, and voiding the manufacturer’s warranty for the new shingles.
That’s why a full tear-off is recommended. It allows for a thorough inspection and ensures the new roof is installed on a solid foundation, maximizing its lifespan.
What is the best time of year to replace a roof?
The timing of your roofing steps installation affects the quality of the job. The ideal temperature range for installing asphalt shingles is 50-80°F. In the cold, shingles can become brittle and crack, and their adhesive shingle sealing strips won’t activate properly. In extreme heat, they can become too soft and are easily damaged.
Due to these weather considerations, the best time for roofing in Massachusetts is typically late spring through early fall. We will not work in unsafe conditions like rain or high wind.
How long does a new asphalt shingle roof last?
A properly installed asphalt shingle roof has a typical lifespan of 20-30 years. However, several factors affecting longevity come into play.
- Material quality is key; modern architectural shingles are far more durable than older 3-tab styles.
- Installation craftsmanship is the most critical factor. A roof can fail in five years from poor installation, whereas a well-installed one can last over 30. Our hand-nailing technique is designed to maximize this lifespan.
- Proper ventilation is also crucial, as it prevents heat and moisture buildup that can damage shingles from below.
- Finally, the New England climate impact, from UV rays to snow and ice, is managed through quality materials and expert installation.
When all these factors are addressed correctly, your roof will achieve its maximum lifespan, which is what we deliver with every roofing steps installation.
Conclusion
From planning and tear-off to the final inspection, every part of the roofing steps installation process is critical to the longevity of your roof.
The value of proper installation cannot be overstated. A poorly installed roof leads to premature failure and expensive repairs, while a correctly installed roof protects your home for decades. While DIY projects can be rewarding, roofing involves significant safety risks and requires professional expertise to ensure a watertight, durable result.
At Golini Roofing, we have been serving homeowners in Wakefield, Stoneham, Reading, Winchester, and surrounding areas since 1982. Our commitment to hand-nailing each shingle is our promise of quality, ensuring every roof we build receives the utmost care and attention to detail.
Your home is your largest investment; its roof is its primary protector. When you’re ready for a professional assessment, visit our Roof Installation Process page to learn how we can protect your home.
