
Putting on New Roof: 6 Steps for a Flawless Install
Why Understanding the Roof Installation Process Matters
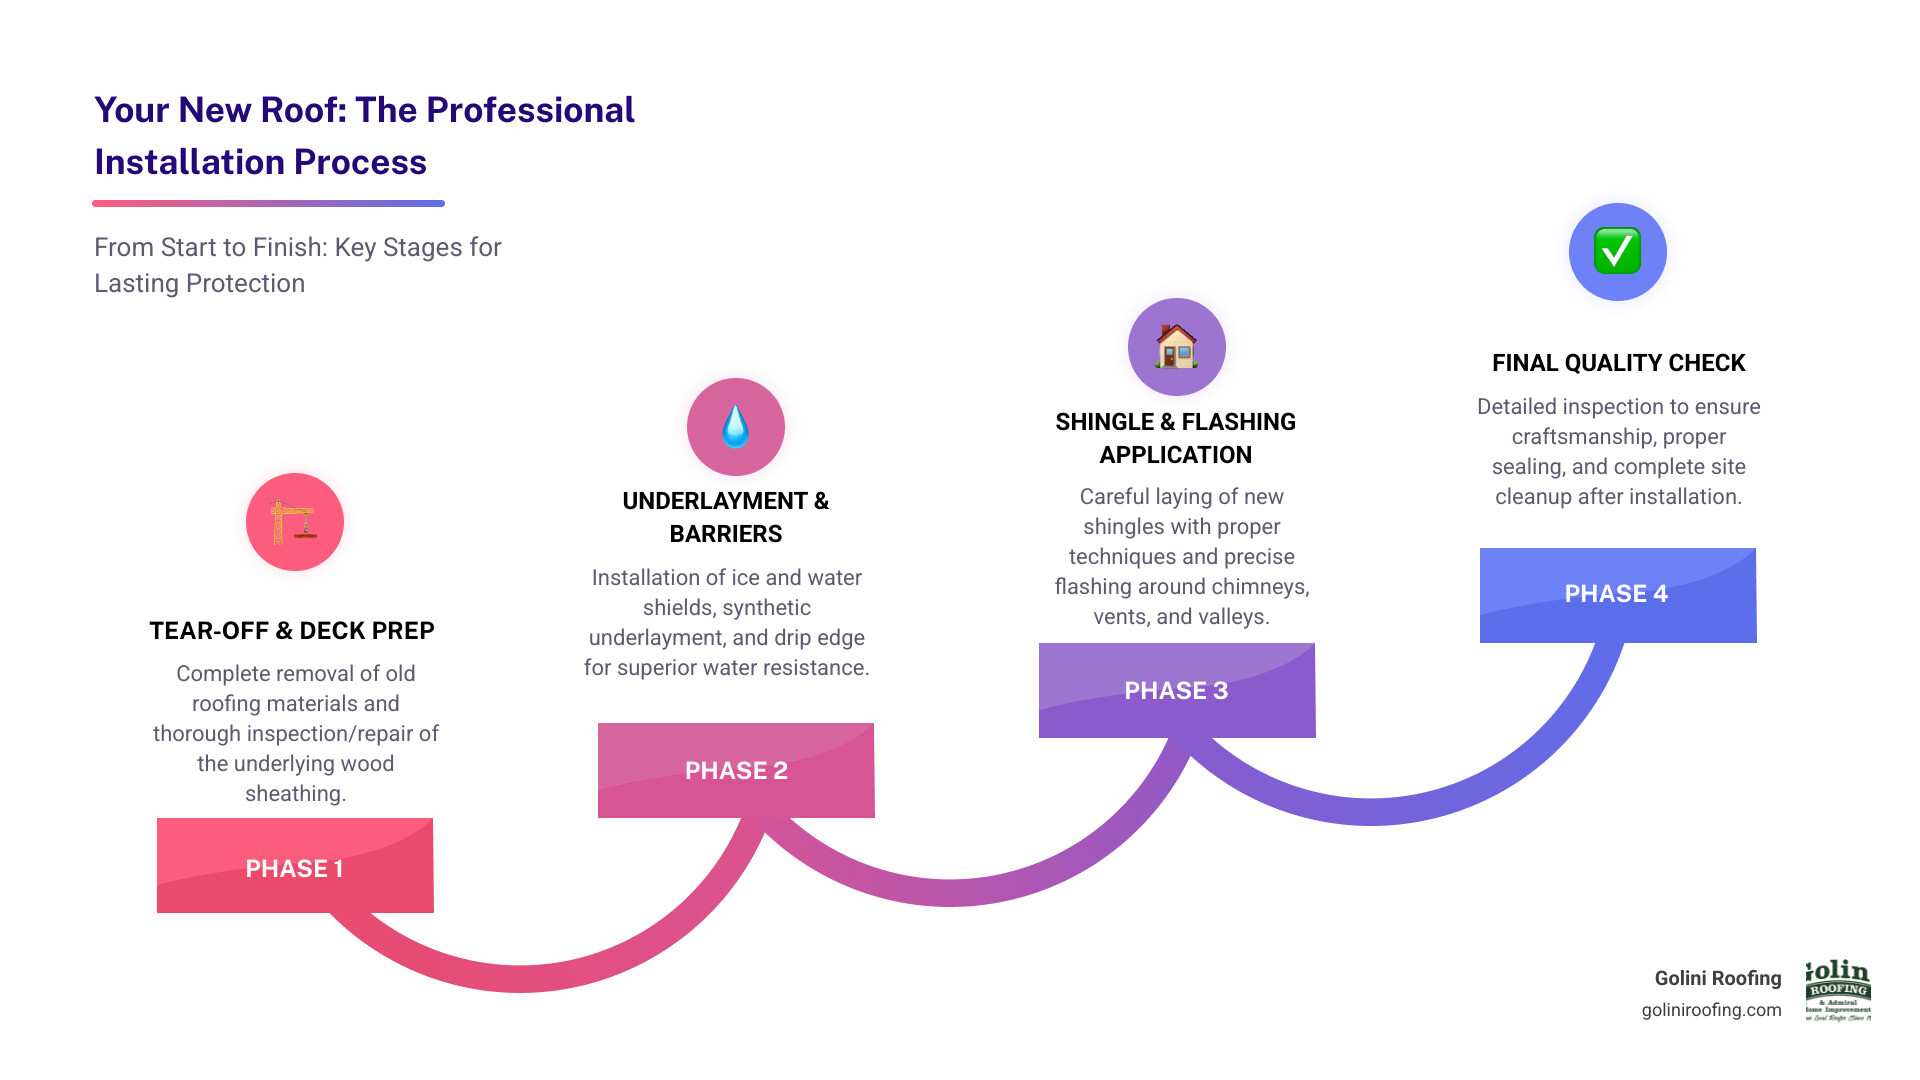
Putting on a new roof is a significant home improvement project. Understanding the process ensures your home is protected for decades. The key stages include:
- Tear-off – Complete removal of old roofing materials
- Deck inspection – Checking and replacing damaged wood sheathing
- Underlayment – Installing water barriers and ice shields
- Shingle installation – Laying new roofing material with proper techniques
- Flashing – Sealing around chimneys, vents, and valleys
- Final inspection – Quality check and cleanup
A typical roof replacement takes 1-4 days and costs between $5,000 and $45,000 nationally, depending on size, materials, and labor. Note: These are average costs based on internet data and not actual costs for Golini Roofing.
Since your roof protects everything you own, poor installation can lead to leaks, structural damage, and voided warranties. Knowing the steps helps you ensure quality work. While you can stay home during the noisy installation, professional contractors provide safety, proper techniques, and quality materials often missing in DIY projects.
The best time for replacement is late spring through early fall for predictable weather, but emergency work can be done year-round.
I’m Jack Golini, and I’ve been putting on new roof systems throughout the North Shore area since 1982. My team at Golini Roofing has perfected the hand-nailing technique that ensures superior durability and weather resistance for every installation.
Is It Time for a New Roof? Key Signs and Initial Planning
This section covers the essential first steps before any work begins, from identifying the need for a replacement to choosing the right materials for your home.
Telltale Signs Your Roof Needs Replacement
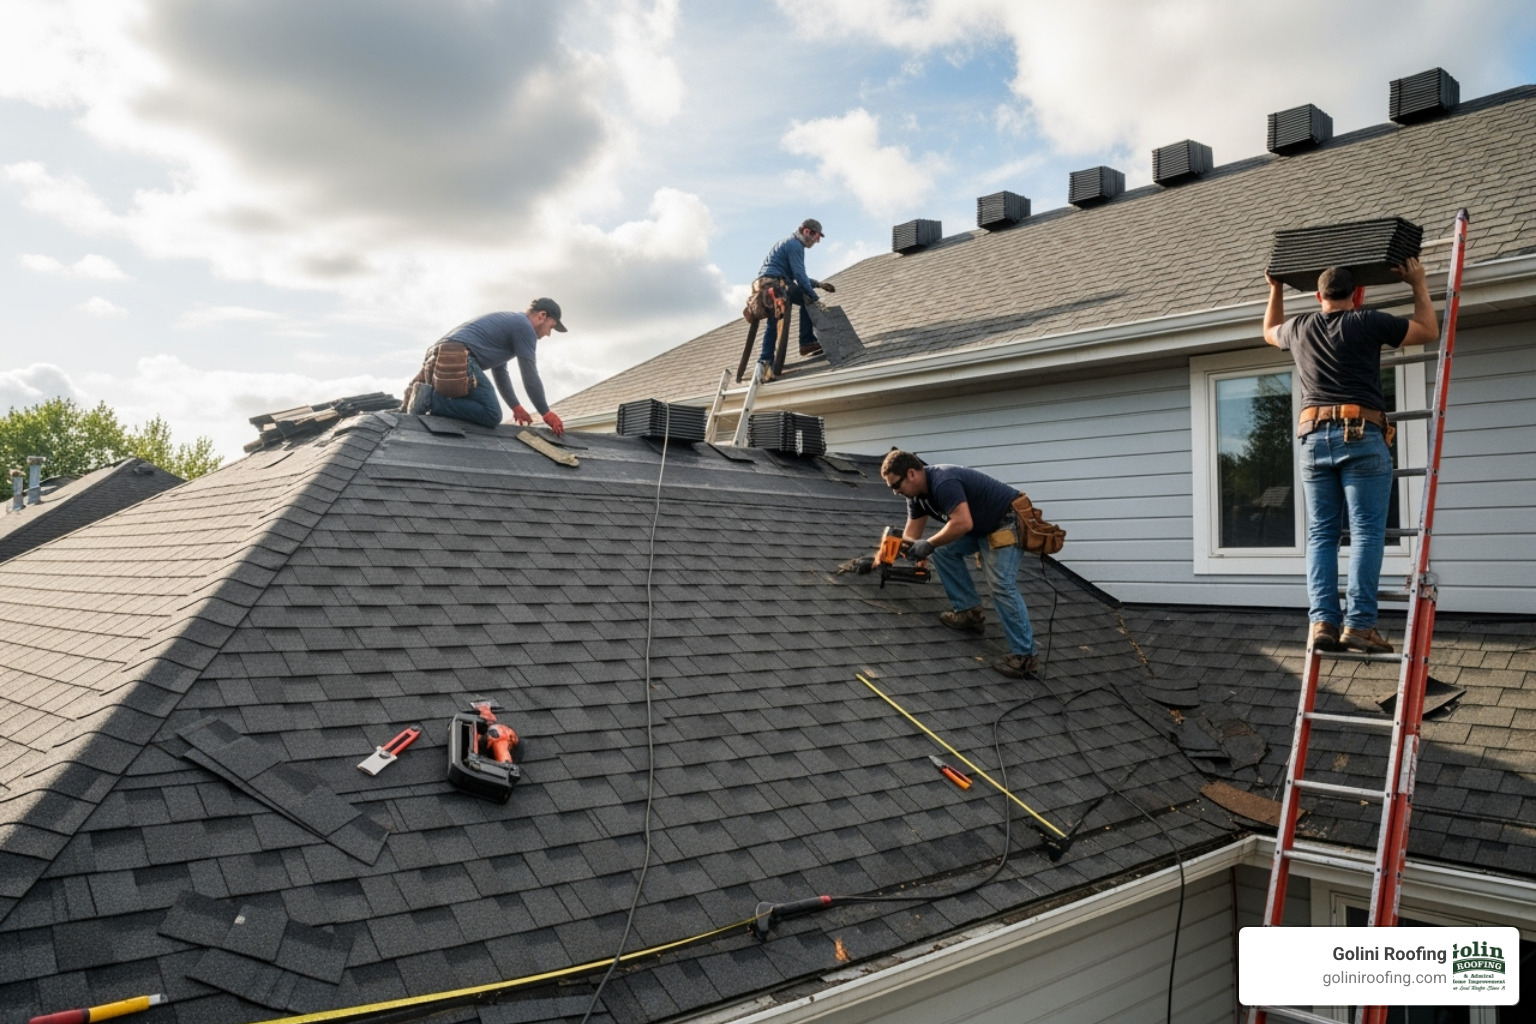
Look for these warning signs that it’s time for a replacement:
- Shingle Damage: Curling, cupping, or missing shingles indicate significant wear and tear.
- Granule Loss: Coarse, sand-like granules in your gutters mean your shingles are losing their protective layer, leading to bald spots.
- Interior Leaks: Water stains on ceilings or walls are a clear sign your roof is failing.
- Age: If your asphalt shingle roof is over 20 years old, it’s time to start planning for a replacement.
- Sagging Deck: A sagging or dipping roofline signals potential structural damage and requires immediate professional attention.
When you notice these signs, it’s time to consider putting on new roof. For urgent issues, our roof repair services can help while you plan your replacement.
Understanding the Costs and Key Factors
A roof replacement is a major investment, with national averages ranging from $5,000 to $45,000. The final price depends on several key factors:
- Roof Size: Measured in “squares” (100 sq. ft. units), size is the biggest cost driver.
- Roof Pitch: Steeper roofs require more safety equipment and labor, increasing the cost.
- Material Choice: Basic 3-tab shingles are less expensive than premium architectural shingles.
- Labor & Permits: Labor typically accounts for 60% of the budget, and permit fees vary by town.
Please note: These are average costs based on internet data and not actual costs for Golini Roofing.
The national average cost per square foot ranges from $4 to $11. The cheapest option isn’t always the best for protecting your home. For a detailed breakdown, visit our guide on how much does a roof cost to replace.
Choosing Your Armor: A Look at Residential Roofing Materials
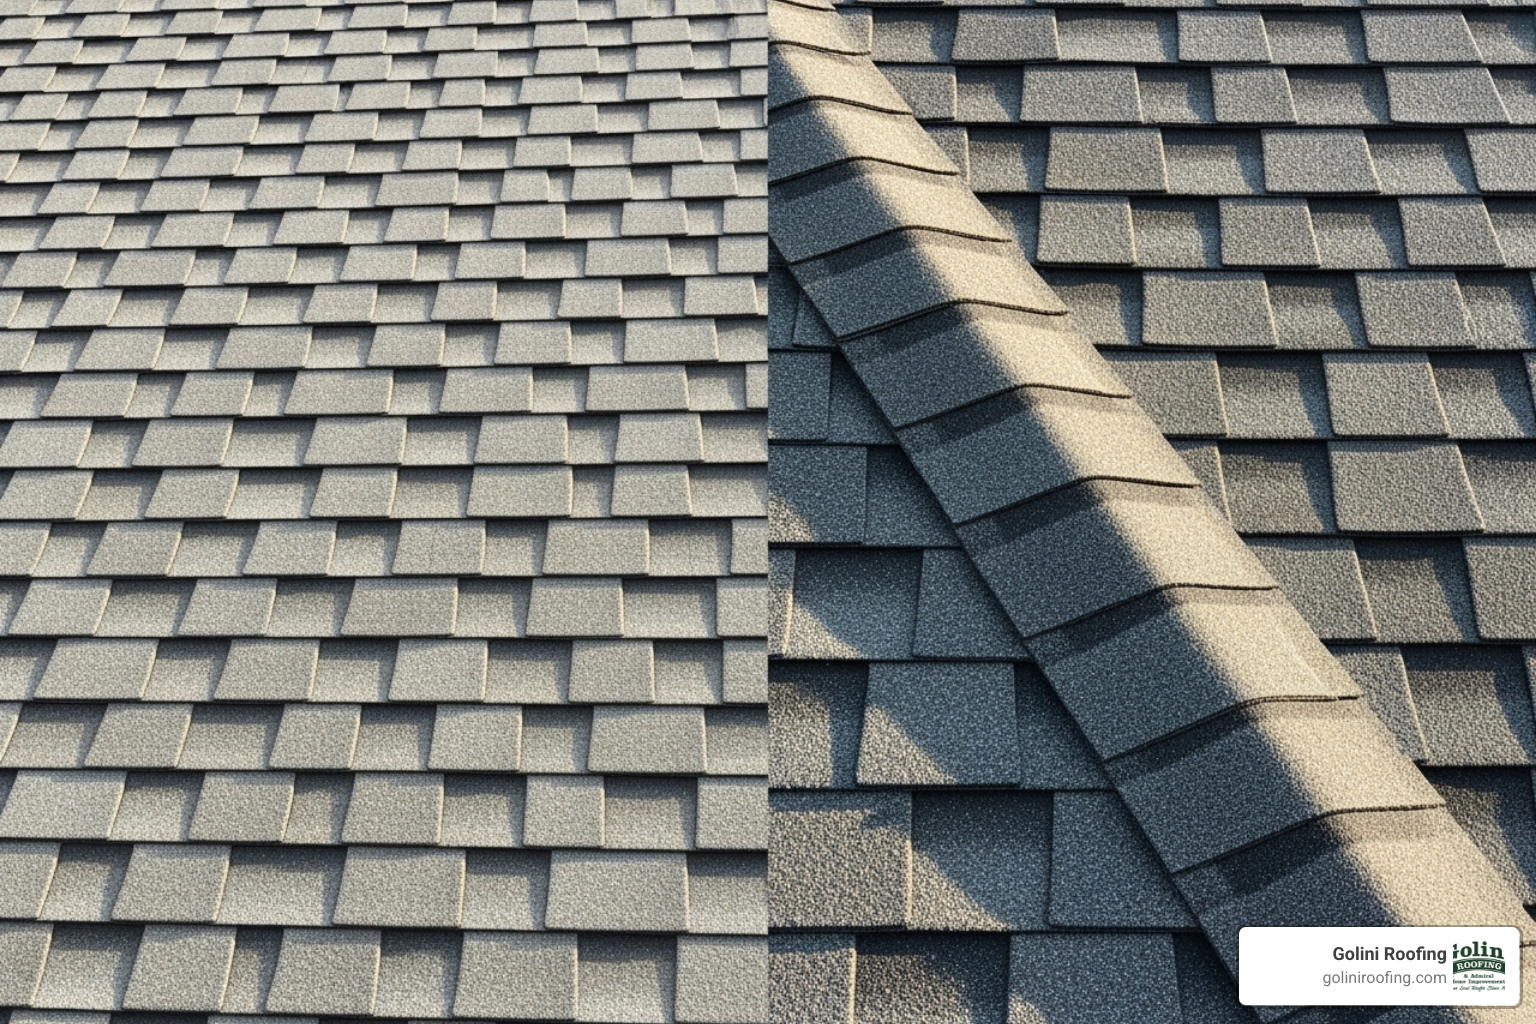
For most New England homes, asphalt shingles offer the best balance of cost, durability, and aesthetics.
- Three-tab shingles: This budget-friendly option is flat and uniform, lasting 15-20 years. They are functional but offer a basic look.
- Architectural shingles: The most popular choice, these thicker, multi-layered shingles create a dimensional look mimicking wood shakes or slate. They last 25-30 years, with premium versions lasting up to 50 years.
While asphalt shingles are affordable and come in many styles, they don’t last as long as some other premium materials. Architectural shingles cost more upfront but provide better wind resistance, curb appeal, and longer warranties. The right style and color can dramatically boost your home’s value. For more information, check out our guide on installing roof shingles.
Reroofing vs. Full Replacement: What’s the Difference?
When putting on new roof, you have two options: reroofing (shingling over the old roof) or a full replacement (a complete tear-off). While reroofing is cheaper and faster, we almost always recommend a full replacement. Here’s why:
- Hidden Damage: A tear-off allows us to inspect the roof deck for rot or damage and make necessary repairs. Reroofing just covers up problems.
- Performance: New shingles lay flat on a clean deck, preventing the wavy, uneven look that “telegraphs” through from an old roof layer.
- Weight: A second layer of shingles adds significant weight, potentially exceeding your home’s structural load limit.
- Warranty: Most shingle warranties require installation on a clean deck to be valid.
A full replacement ensures a solid foundation for your new roof, guaranteeing it will last its full expected lifespan and giving you complete peace of mind. Learn more about our approach at our roof replacement services page.
The Professional Roof Replacement Process: A Step-by-Step Breakdown
A detailed look at how professionals tackle a roof replacement, ensuring a durable and long-lasting result from preparation to final cleanup.
Preparing for the Big Day: What Homeowners Should Do
A little preparation helps your roof replacement go smoothly. Before our crew arrives for the job of putting on new roof:
- Clear the Area: Move cars from the driveway and relocate patio furniture, grills, and toys from around the house.
- Protect Landscaping: While we use tarps, let us know about any delicate plants or sprinkler heads.
- Secure Interior Items: The work will cause vibrations. Take down pictures, mirrors, or fragile items from walls.
- Plan for Noise: The process is loud. Consider making arrangements for pets and young children.
- Inform Neighbors: A quick heads-up to your neighbors about the noise and activity is a courteous gesture.
- Check Outlets: Ensure outdoor electrical outlets are accessible for our tools.
Step 1: Tear-Off and Deck Inspection
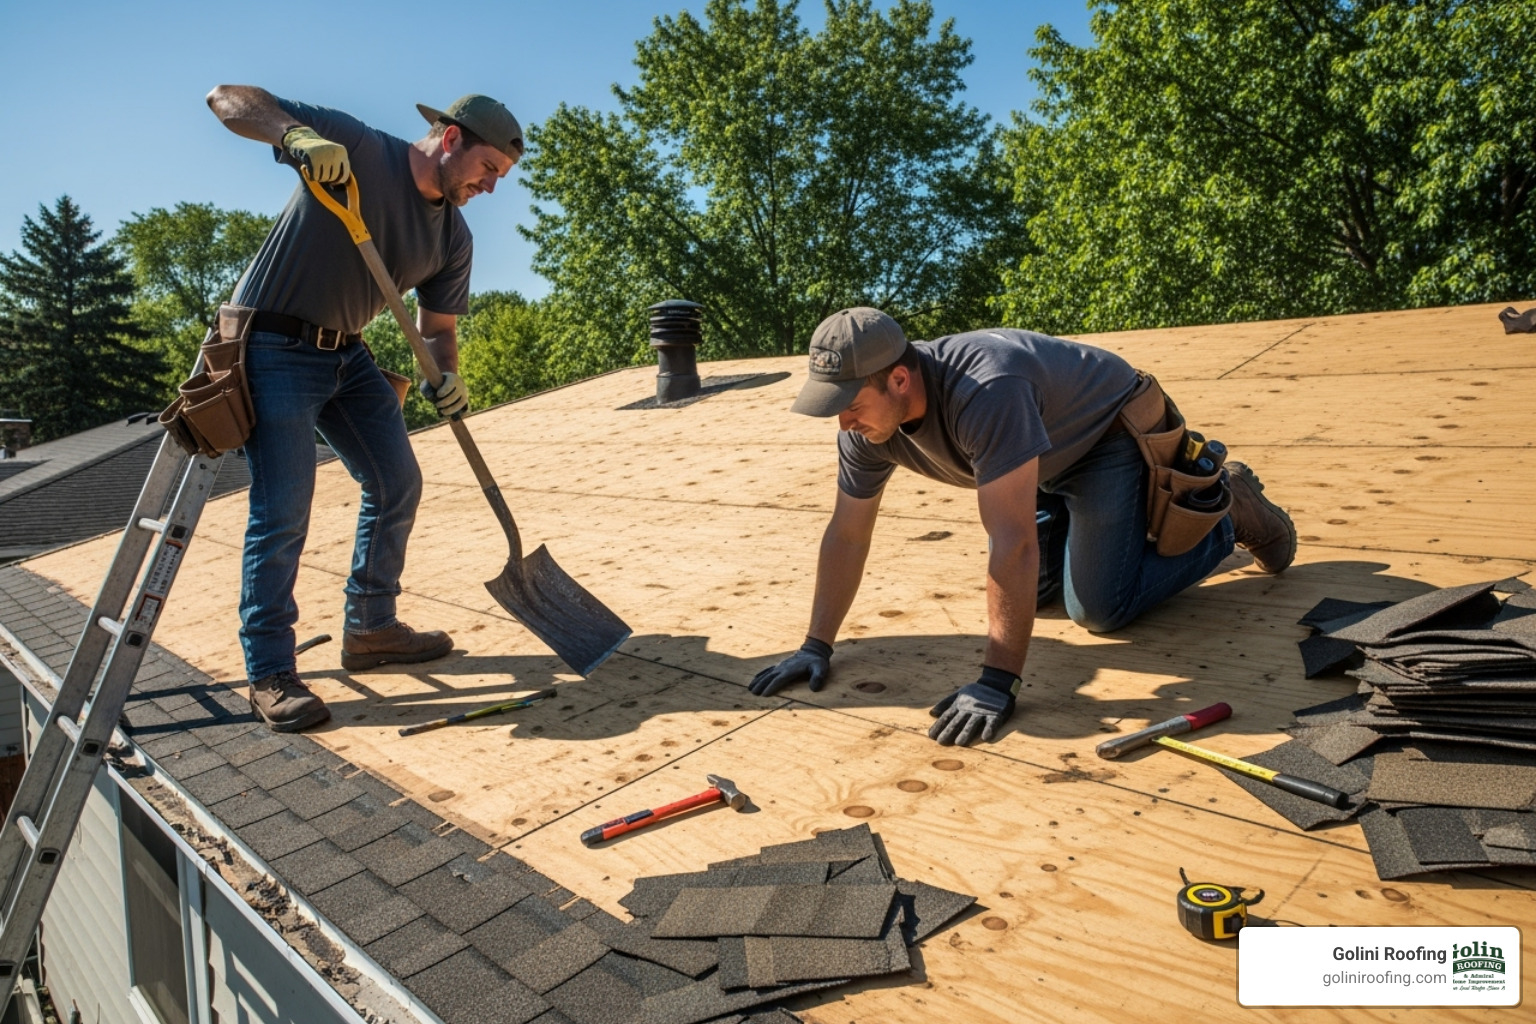
The first step is the tear-off, where we remove all old roofing materials down to the bare wood deck. We use tarps to protect your home and landscaping, and all debris is immediately placed in a dumpster. After the tear-off, we conduct a crucial inspection of the wood sheathing. This is our chance to find and fix any hidden problems. We look for soft spots, discoloration, or any signs of rot or moisture damage. Any damaged or rotted sections of decking are cut out and replaced with new sheathing. This step is non-negotiable; a new roof is only as good as its foundation. A solid, stable deck is essential for a quality, long-lasting installation.
Step 2: Building the Foundation – Underlayment and Barriers
With a clean deck, we build a multi-layered water-resistant barrier system.
- Ice & Water Shield: This waterproof membrane is applied to the most vulnerable areas—roof edges, valleys, and around chimneys—to protect against ice dams and water backup.
- Drip Edge: Metal flashing installed at the roof’s perimeter directs water into the gutters, protecting your fascia and the edge of the roof deck.
- Synthetic Underlayment: The entire roof deck is covered with a strong, tear-resistant synthetic underlayment. This provides a secondary water barrier between the deck and the shingles.
This complete barrier system ensures your home stays dry, even if a shingle is ever damaged. This meticulous foundation is what separates a good roof from a great one when putting on new roof. For a complete look at our process, visit our Roofing Process Step-by-Step guide.
Step 3: The Art of Putting on New Roof Shingles and Flashing
This is where the visible part of your new roof comes to life, and where our craftsmanship shines. We begin by installing starter shingles along the eaves and rakes. These have a strong adhesive that seals the first course of shingles, preventing wind uplift.
Next, we install the shingles in a precise, overlapping pattern from the bottom up, using chalk lines to ensure every row is perfectly straight.
This is where hand-nailing makes all the difference. Unlike pneumatic nail guns, hand-nailing allows our experienced roofers to feel the nail drive, ensuring perfect placement and depth every time. This prevents under-driven nails that don’t hold and over-driven nails that tear the shingle. This meticulous technique provides superior durability against New England’s harsh weather.
Proper flashing installation is just as critical. We install custom step flashing around chimneys, new vent flashing around all pipes, and continuous flashing where walls meet the roof. Finally, we install ridge cap shingles along the peak and hips of the roof, sealing any exposed nails to complete the watertight system. This detailed approach to putting on new roof ensures both beauty and bulletproof protection.
DIY vs. Hiring a Pro: Why Expertise Matters When Putting on New Roof
Weighing the significant differences between a do-it-yourself project and hiring a seasoned professional for one of your home’s most critical components.
I understand the appeal of a DIY roof replacement. However, after more than 35 years in the business, I’ve seen why putting on new roof is a project best left to professionals.
The Risks and Realities of a DIY Roof Replacement
While the DIY approach can seem tempting, a roof replacement is a dangerous and technical job with significant risks.
- Safety: Falls from roofs are a leading cause of serious injury. Professionals have the training and equipment to work safely at height, especially on steep pitches.
- Physical Demands: Tearing off old shingles and hauling 80-pound bundles up a ladder is exhausting work. A project that takes our crew a few days could take a DIYer weeks, leaving the home exposed.
- Costly Mistakes: Improper installation of underlayment, shingles, or flashing can lead to major leaks, water damage, and mold. These repairs often cost far more than hiring a professional in the first place.
- Voided Warranties: Most shingle manufacturers void their warranties if the products are not installed by a qualified professional according to their exact specifications.
The combination of safety risks, physical toll, and potential for expensive errors makes DIY roofing a false economy. For more information, visit our Residential Roofing Company page.
The Benefits of Hiring a Professional Roofing Contractor
Hiring a professional contractor for putting on new roof offers value that goes far beyond the initial price. A professional installation saves money long-term by preventing costly mistakes and ensuring your roof lasts its full lifespan.
Here’s what you get when you hire a pro like Golini Roofing:
- Efficiency: Our experienced crews typically complete a roof replacement in just 1-4 days, minimizing disruption and exposure to the elements.
- Safety: We are fully trained and equipped with proper fall protection, eliminating the risk of serious injury for the homeowner.
- Quality & Expertise: With 35 years of experience, we understand local building codes and weather challenges. Our signature hand-nailing technique ensures superior durability that nail guns can’t replicate.
- Warranties: You receive both our workmanship warranty and the full manufacturer’s material warranty, providing complete peace of mind.
- Proper Equipment & Materials: We use professional-grade tools and high-quality materials, ensuring a top-tier result.
Hiring a professional isn’t just about getting the job done; it’s about getting it done right, safely, and with a guarantee of quality that protects your investment for decades. If you’re ready to work with experienced professionals, learn more about finding a Roofing Contractor Near Me.
After the Installation: Maintenance and Common Questions
Your new roof is on, but the job isn’t over. Learn how to maintain your investment and get answers to the most frequently asked questions.
Protecting Your Investment: New Roof Maintenance Tips
Your new roof is a major investment. A little routine maintenance will ensure it reaches its full lifespan.
- Inspect Visually: Twice a year (spring and fall), use binoculars to check for any cracked, missing, or curling shingles from the ground.
- Clean Your Gutters: Clogged gutters cause water to back up under shingles, leading to rot and ice dams. Clean them at least twice a year.
- Check Seals: Look at the sealant around flashing (chimneys, vents, skylights) to ensure it isn’t cracked or pulling away.
- Remove Debris: Clear any accumulated leaves or branches, especially in roof valleys, to prevent moisture buildup and algae growth.
- Post-Storm Check: After a major storm, look for signs of damage from wind or hail.
Catching small issues early is the key to preventing large, expensive repairs after putting on new roof.
Frequently Asked Questions about Putting on a New Roof
How long does a roof replacement take?
For most homes, a replacement takes typically 1-4 days. The timeline depends on the roof’s size and complexity, as well as the weather. A simple ranch roof is faster than a large, complex roof with many dormers and skylights. For more details on project timelines, visit our page on How Long Does It Take to Replace a Roof?.
When is the best season to replace a roof?
The ideal time for putting on new roof is late spring to early fall. Temperatures between 50 and 80 degrees are perfect for the shingles’ thermal sealant to activate and bond properly, creating a strong, wind-resistant seal. This period also typically has more predictable weather.
How long does a new asphalt shingle roof last?
A professionally installed asphalt roof is very durable. Standard 3-tab shingles last 20-25 years, while higher-quality architectural shingles last 25-30+ years, with some premium versions lasting up to 50 years. Lifespan depends heavily on quality installation, local climate, and regular maintenance.
Conclusion: Your Home’s New Crown Awaits
Putting on new roof is a major investment that protects your home and family for decades. Understanding the process, from spotting warning signs to the final installation, empowers you to make a confident choice. Your roof is your home’s first line of defense against New England’s weather, and a quality installation improves curb appeal, increases value, and provides lasting peace of mind.
At Golini Roofing, we’ve been serving the North Shore area for over 35 years. We believe the difference between a good roof and a great one is craftsmanship. That’s why we stand by our meticulous hand-nailing technique. This traditional approach ensures every shingle is perfectly placed and secured, creating a roof with superior durability that can withstand the harshest weather. We don’t cut corners, because your protection is our priority.
Your home deserves a roof built to last. If you’re ready to crown your home with expert craftsmanship, it’s time to talk to the professionals.
Ready to get started? Learn more about our comprehensive approach and what sets us apart at our Roof Installation Process page. Your home’s new crown awaits, and we’d be honored to help you put it in place.
Like us on Facebook!
